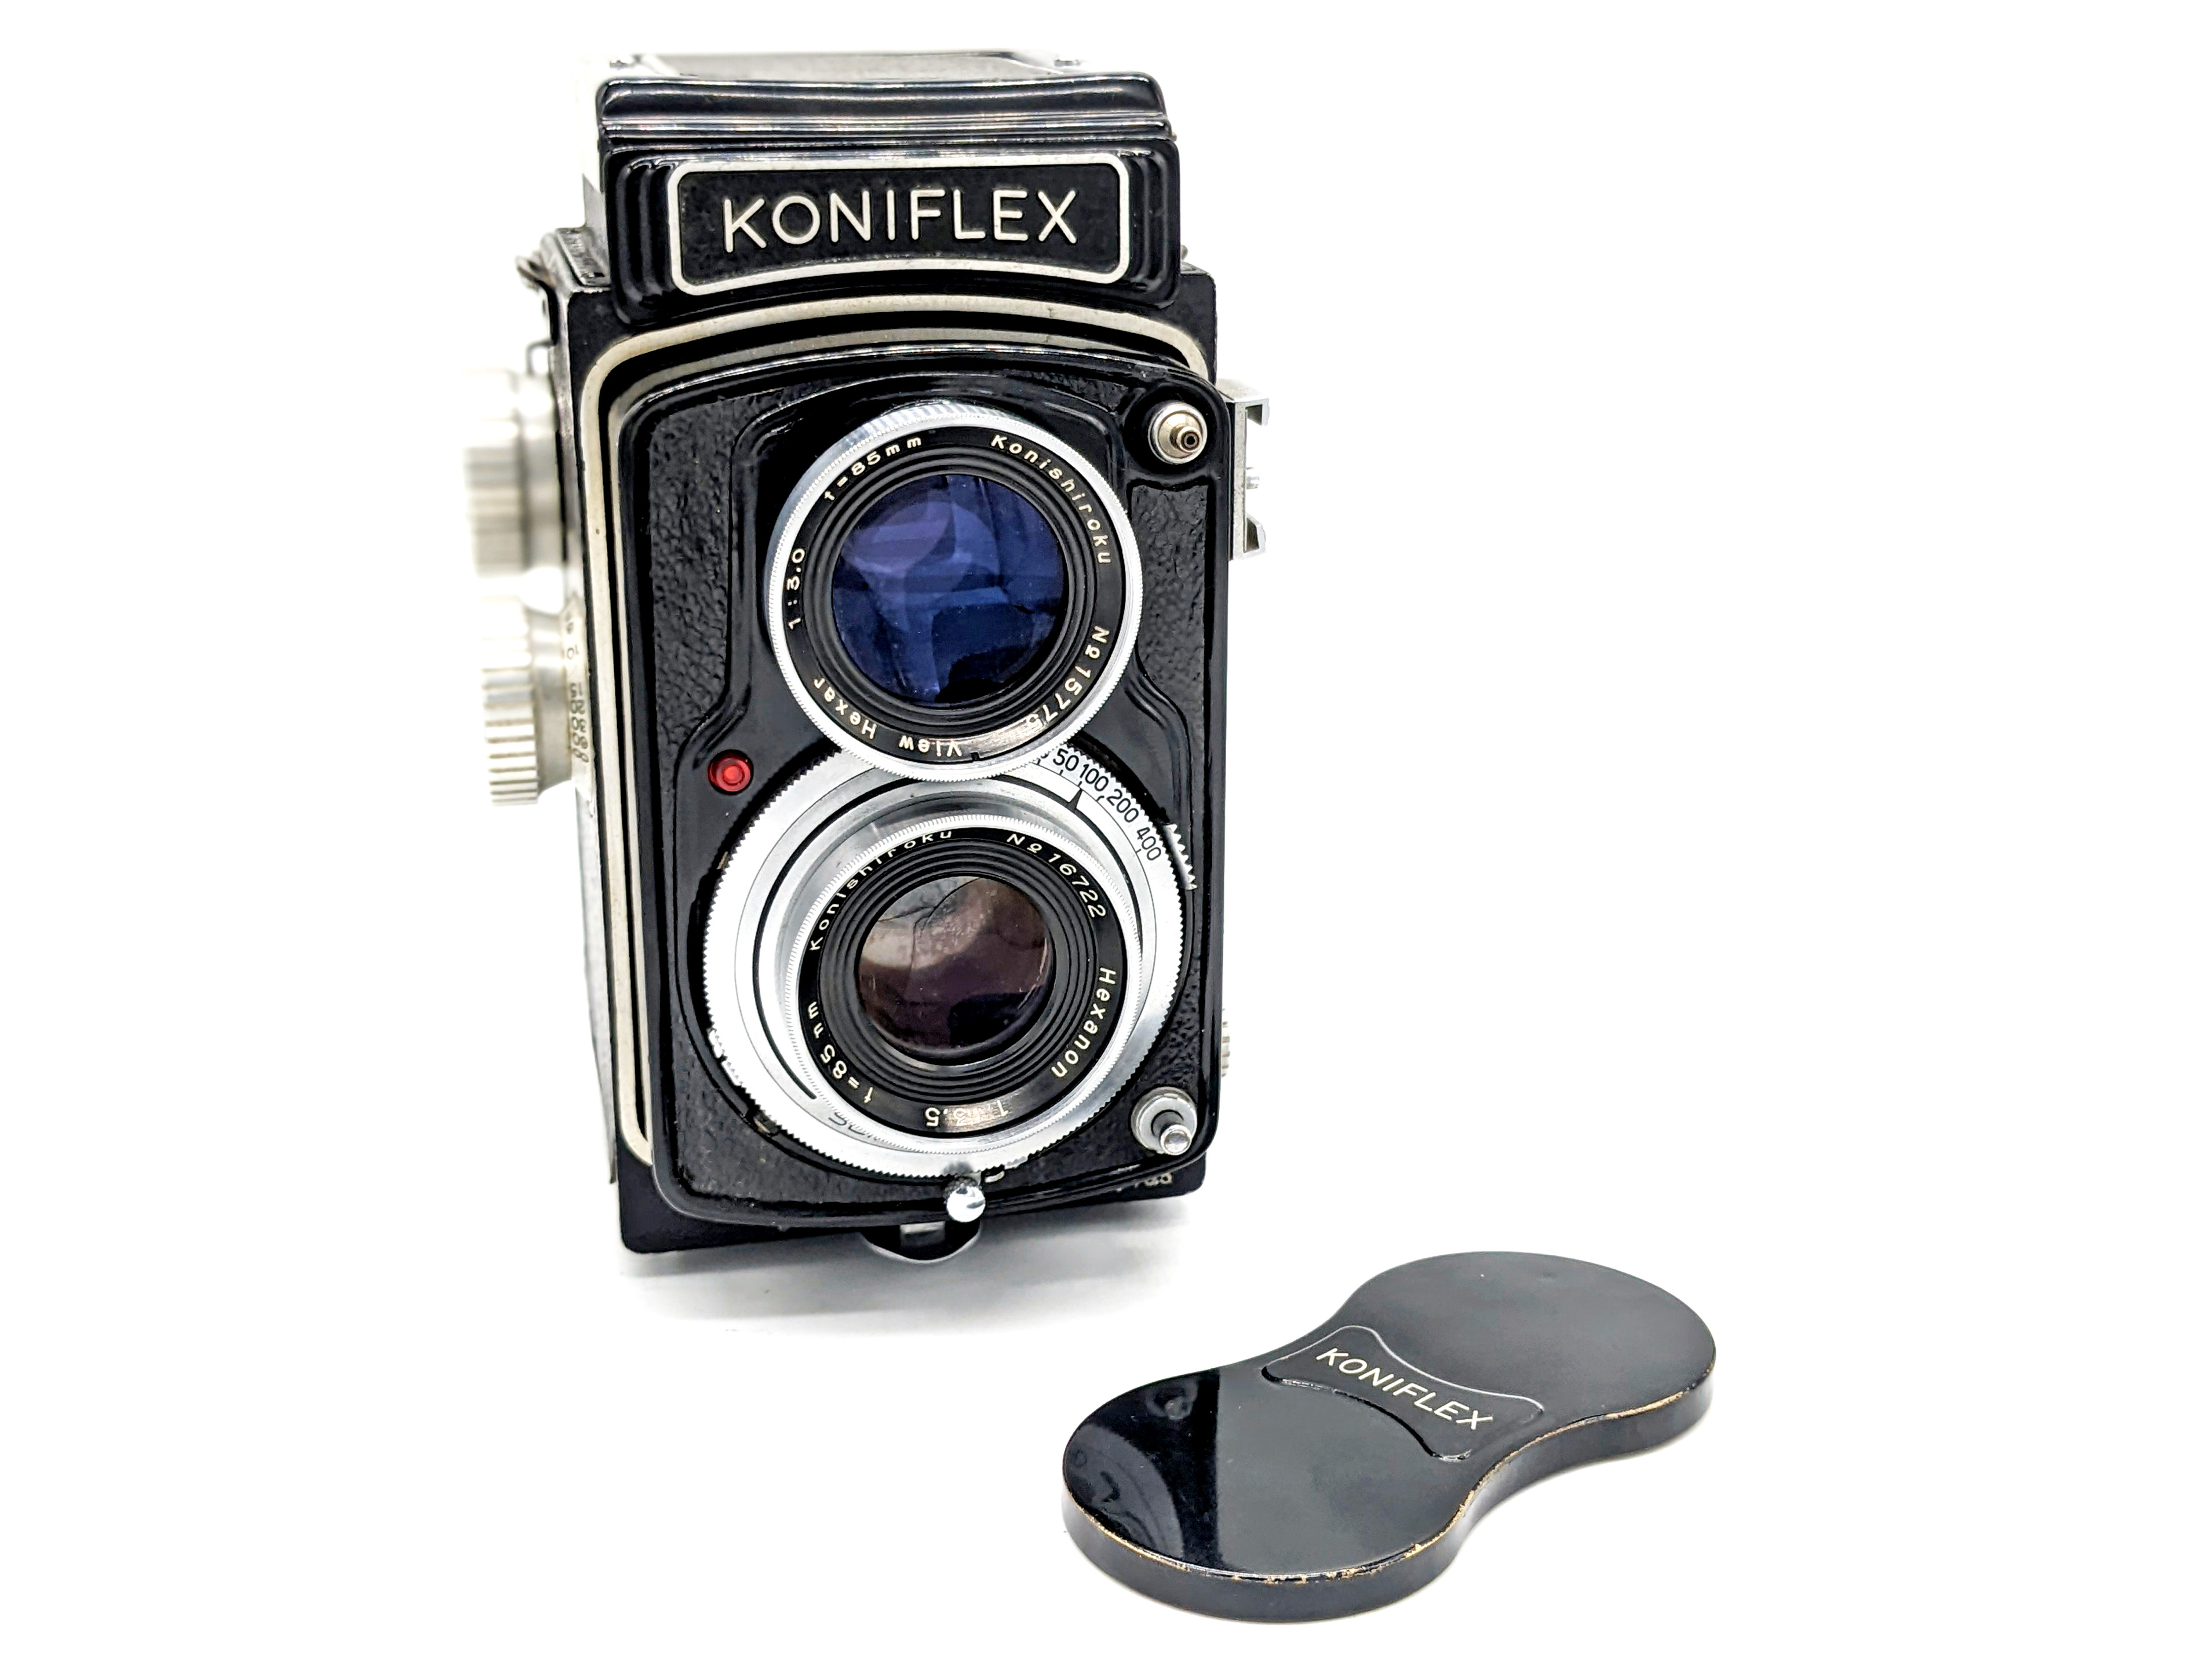
The Koniflex is a high-quality 6×6 TLR produced by Konica during the 1950s. An expensive camera during an era where multiple companies were mass-producing TLRs at a fraction of the price, the Koniflex did not sell well in North America. While not as advanced in operation as contemporary higher-end Rolleiflexes, the Koniflex has a professionally bright focusing screen and world-class viewing and taking lenses. Despite its remarkable build quality and excellent optical performance, because it was not a commercial success (at least in the Europe and the Americas), the Koniflex remains today a mostly-unknown and perhaps under-appreciated 6×6 camera.
While primary known for its 35mm film cameras and lenses, Konica produced, or had a hand in producing, a number of post-war medium format cameras, including the 1950s folding Pearl 645 series, the 1950s Koniflex 6×6 TLR, the 1950s-70s Koni-Omega 6×7 press cameras, and 1968 Koni-Omegaflex 6×7 camera system. The latter two models had a range of high-quality interchangeable lenses.
Although TLR cameras existed before WW2, they came roaring back in the post-war period. During December 1949, Rollei introduced its first new post-war TLRs, including both the new “2.8A” and the cheaper “Automat.” The 2.8A was the first of a series of higher-end Rolleiflexes with a 80mm f/2.8 lens, made with several different lens designers over the years. The Automat did not really mess with the previous wartime configuration and featured a 75mm f/3.5 taking lens. In 1950, Rollei introduced the “Rolleicord 3,” a cheaper, defeatured model with an older-style knob winder and manual shutter cocking.
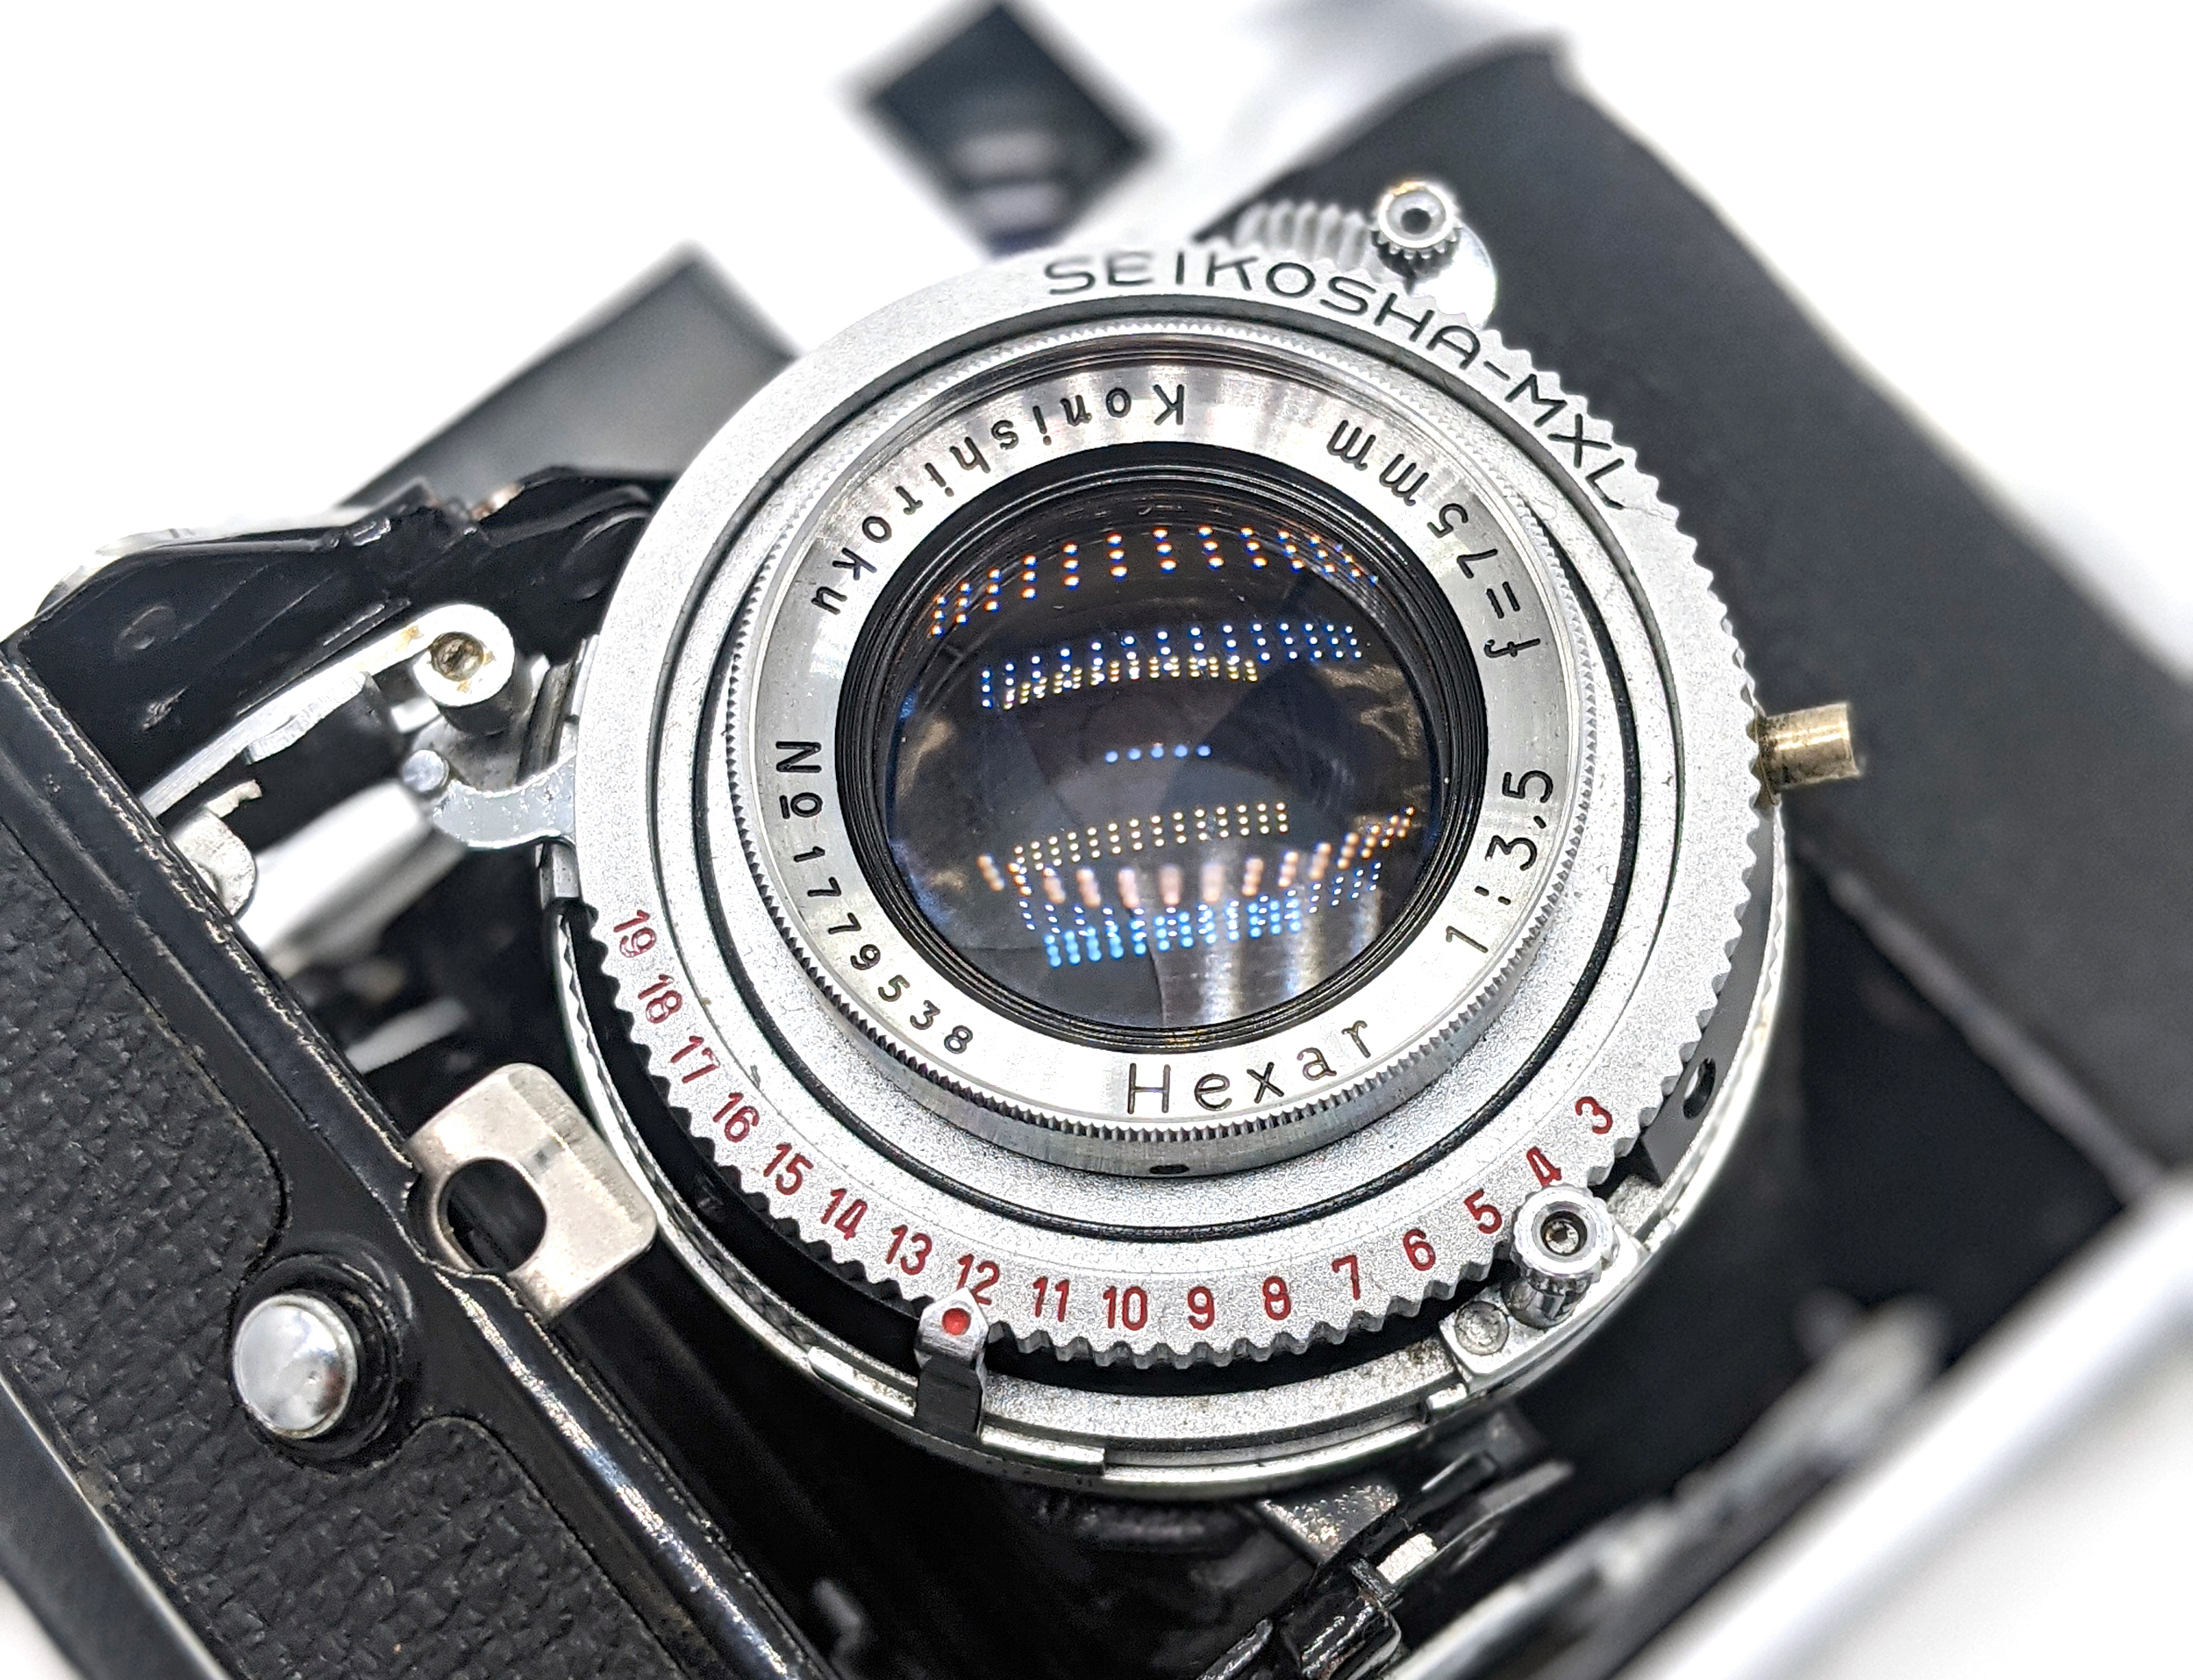
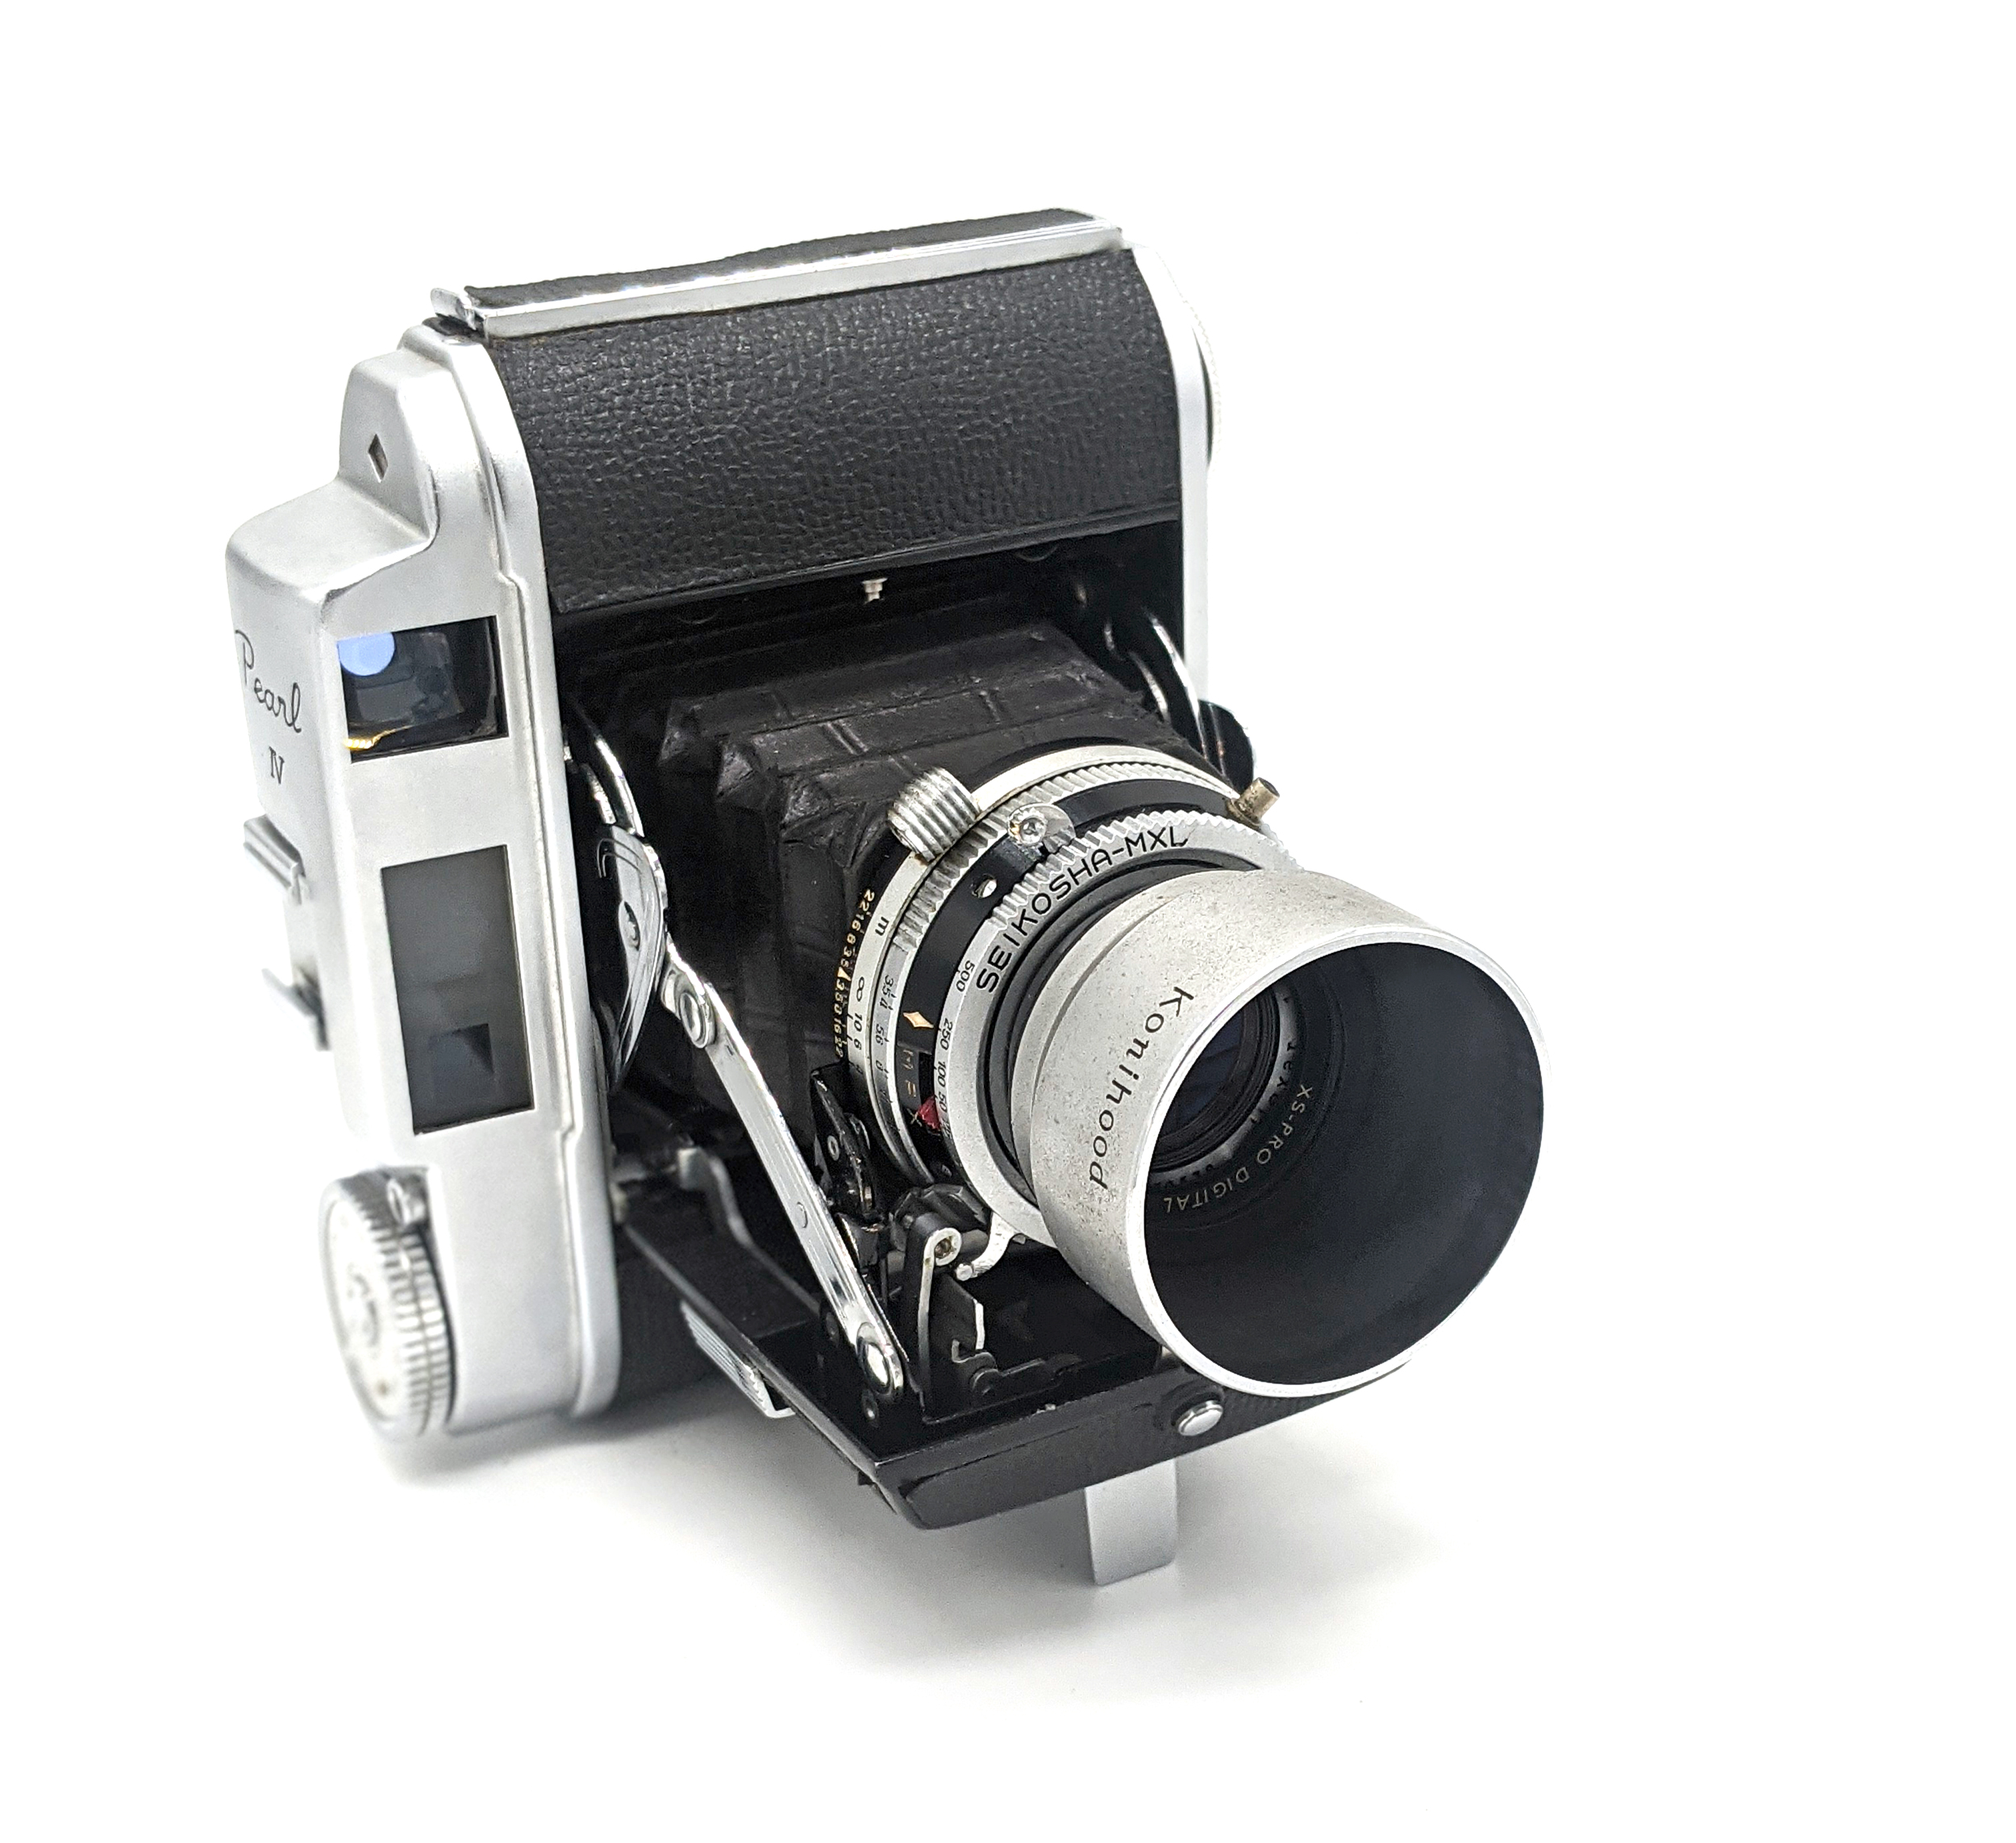
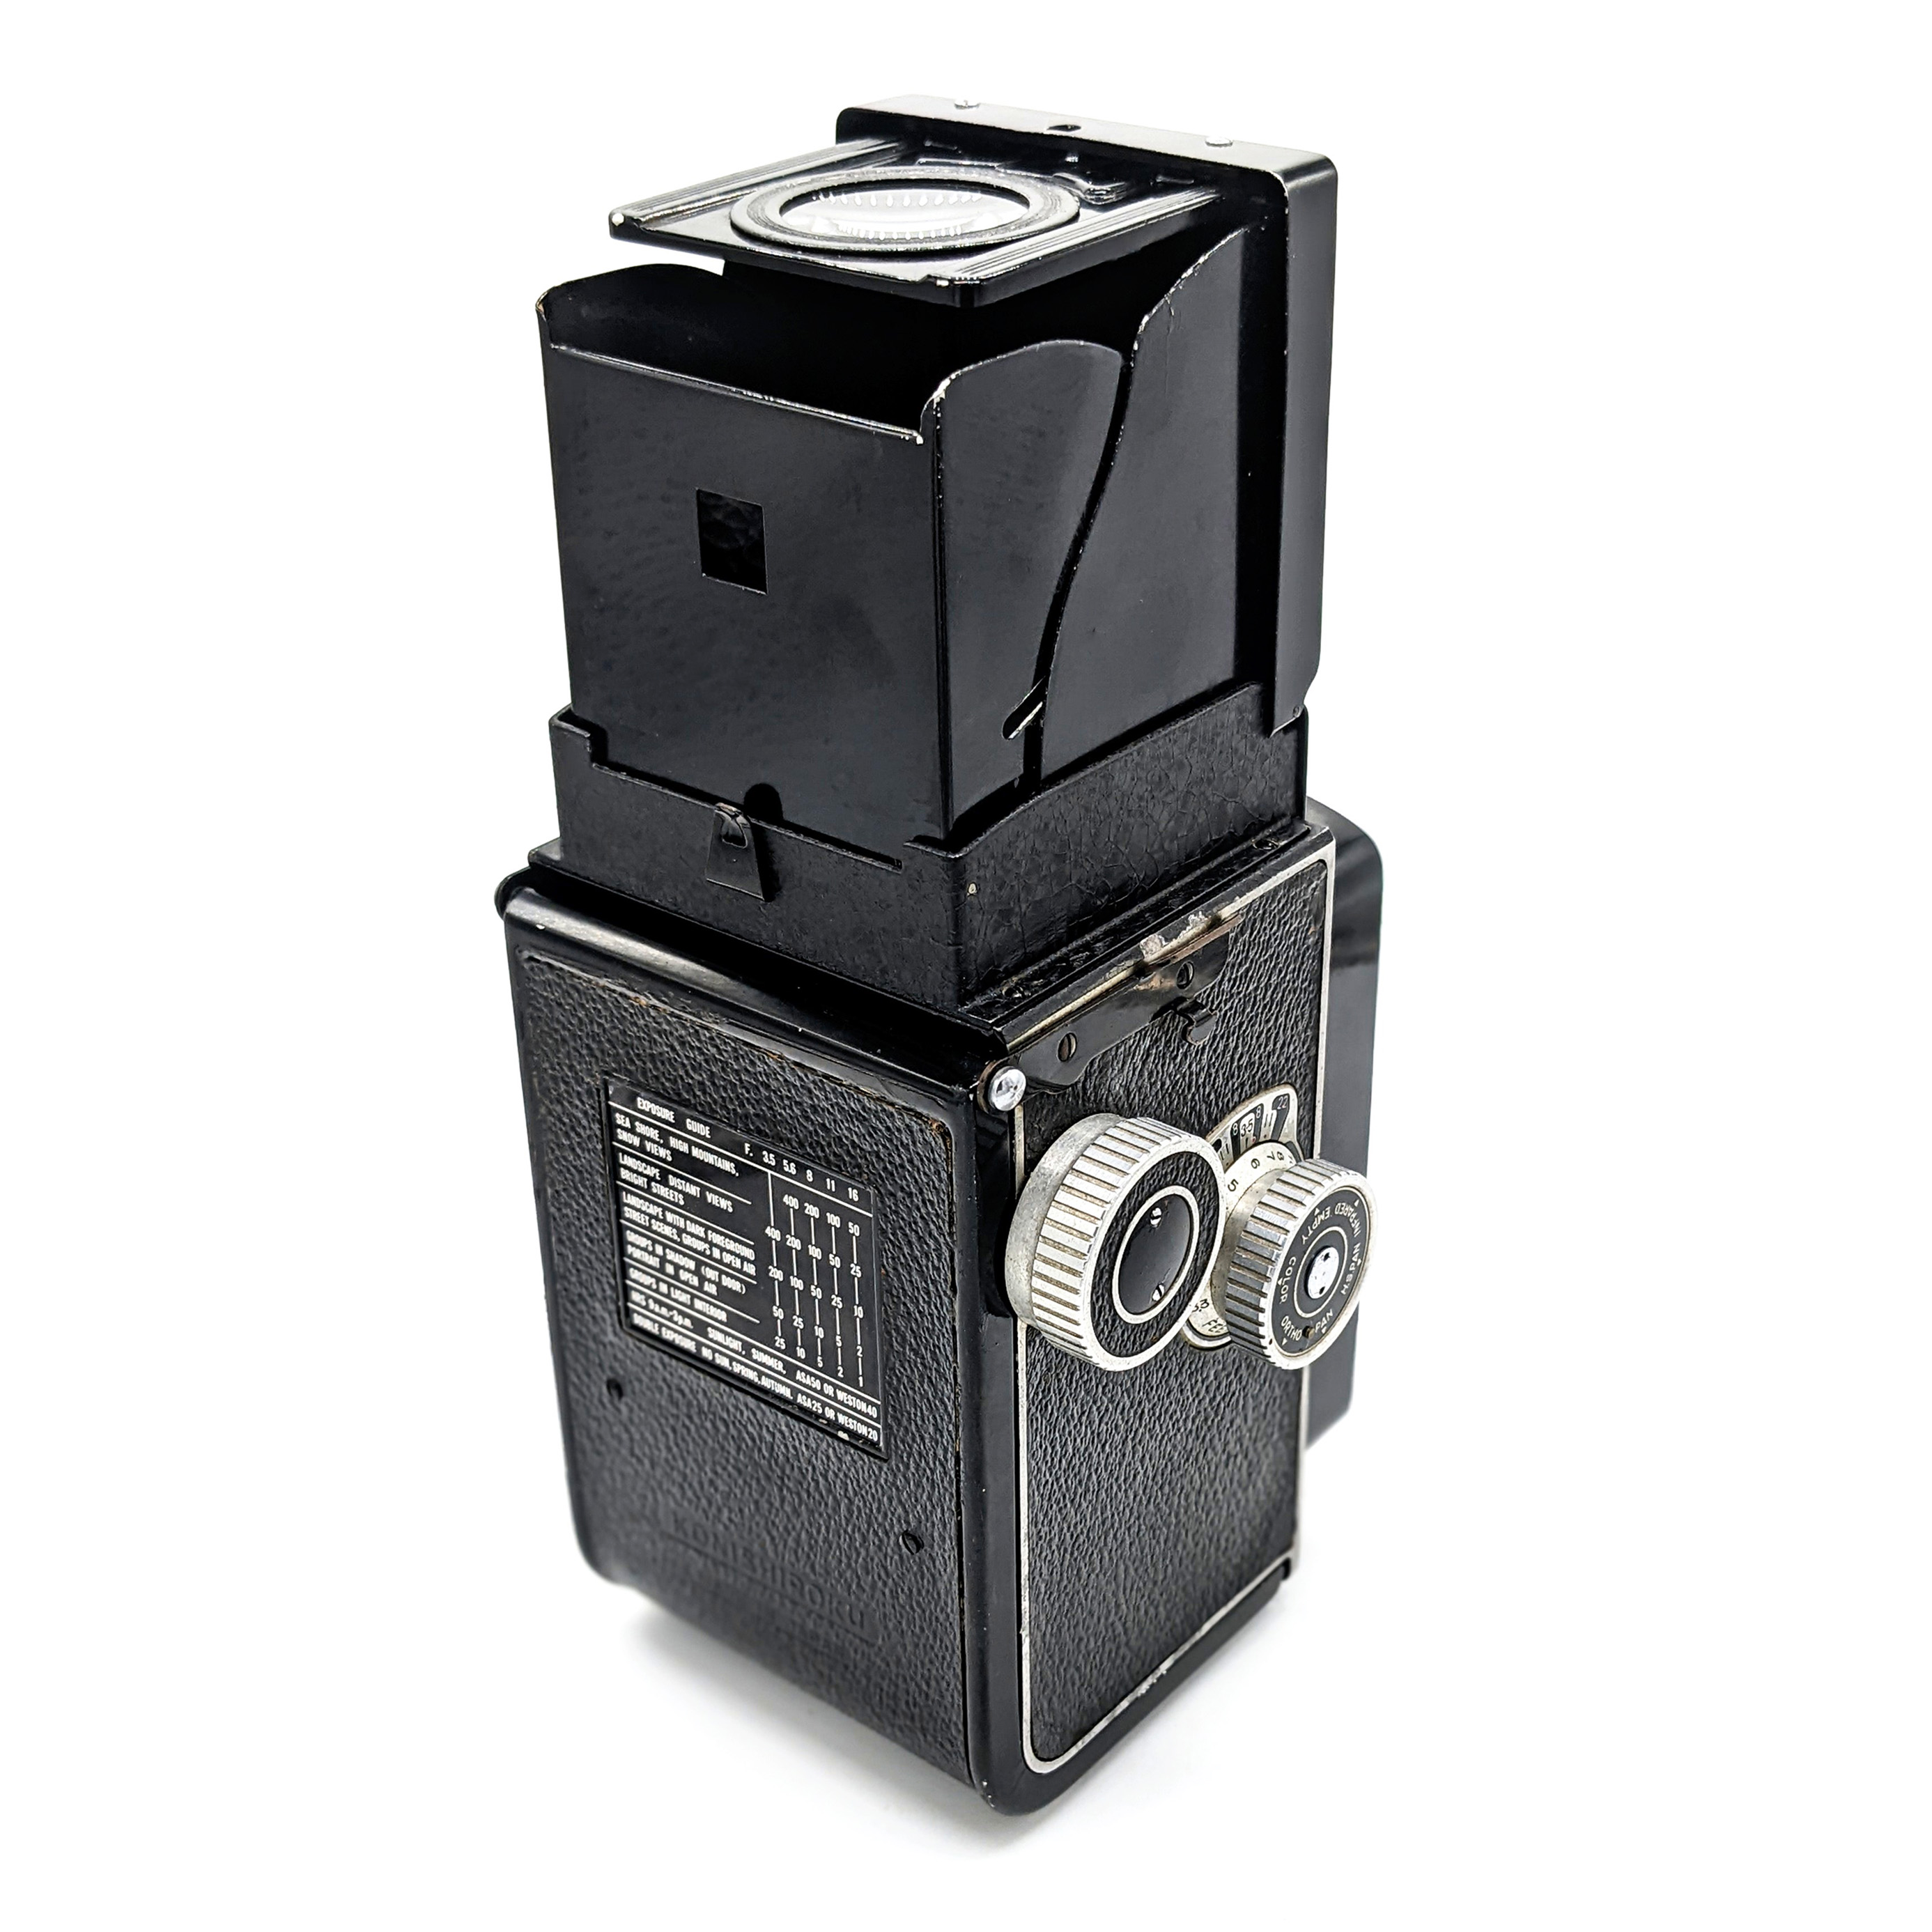
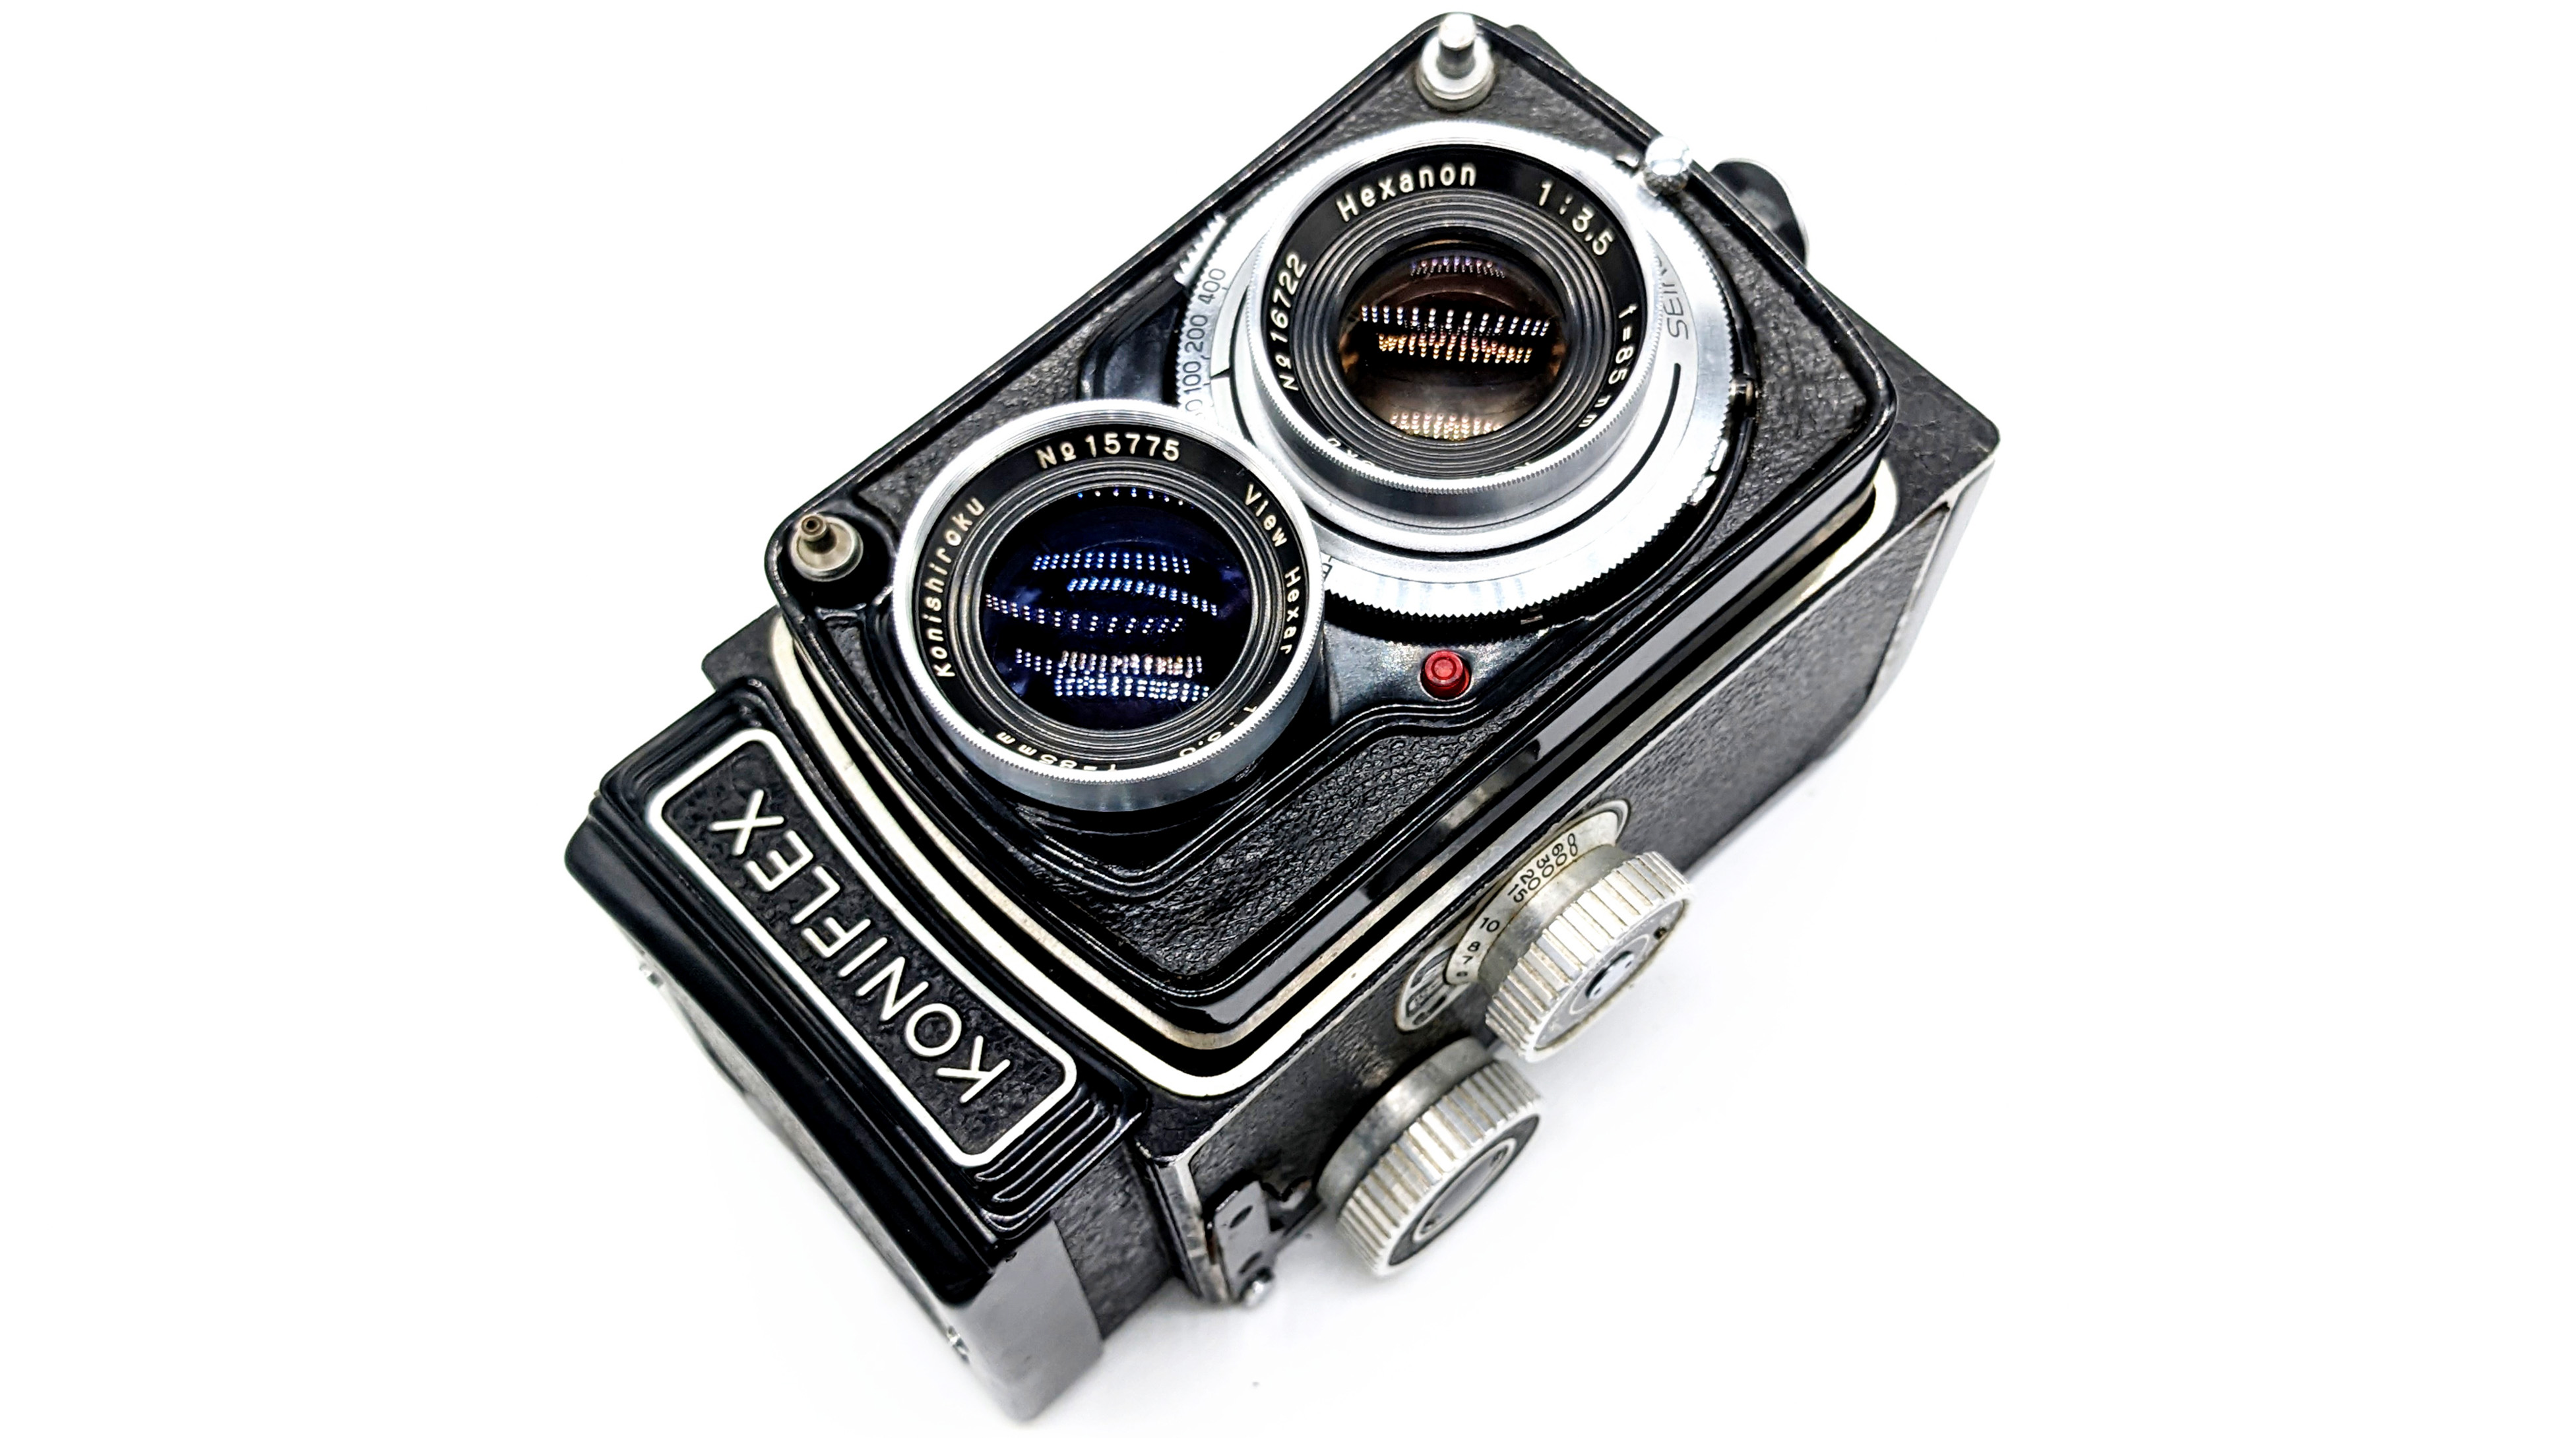
The early 1950s witnessed in Japan an incredible explosion in the popularity of TLR cameras. At the end of 1952, Konica introduced its first and only TLR camera: the “Koniflex.” From first glance, the Koniflex appeared to be similar in operability to the Rolleicord, with a knob advance and manual shutter cocking mechanism. The Koniflex’s primary departure from the prior TLR formula was its use of a brand-new 85mm f/3.5 five-element taking lens. The 85mm lens was not a Tessar-derived design but a derivative of the Voigtlander Heliar design. It also used a brand-new-for-1952 Seikosha-Rapid #0 shutter. Finally, Konica took a different approach to the issue of focusing screen brightness by using a condenser lens rather than the fresnel/frosted glass (or often plastic) screen found on most every other TLR. During its production run, Konica made a few changes such as using a standard PC flash socket, adding internal baffling, and improved bottom latch. Folks have called this later version the Koniflex “II,” though Konica never officially gave it any special designation.
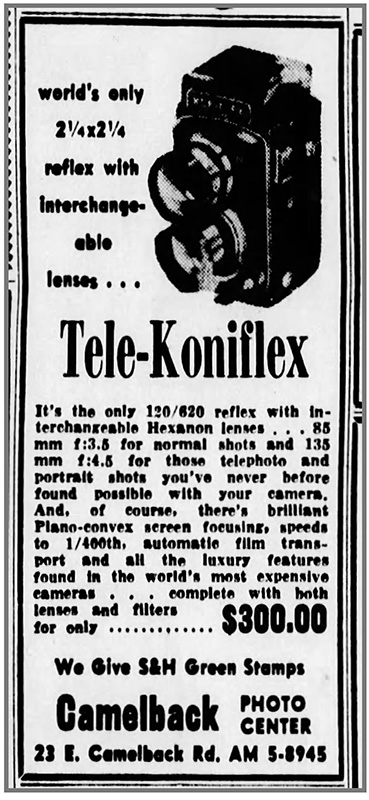
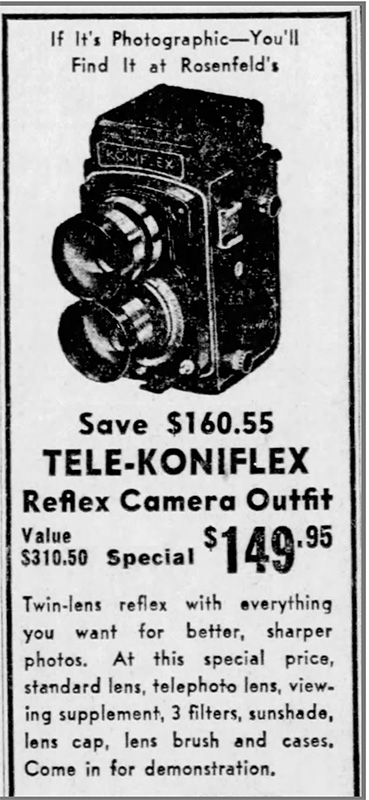
It appears that it was not until some time in mid-1955 that the Koniflex II made it to market in North America. It appears that the most widely-marketed Koniflex was the “Tele-Koniflex.” Retailing at around $300 in 1955-56, the Tele-Koniflex included two screw-on auxiliary lenses to extend the focal length on 135mm. Unfortunately for Konica, this was about the same price as the contemporary Rolleiflex 2.8D. Compare that with the Yashica LM that only cost around $50 at the time. It does not seem that the Tele-Koniflex sold particularly well in North America. By 1957, the Tele-Koniflex was being advertised in the USA for as low as $150, which included filters, the lens hood, and case.
 |  |
| 1956 | 1957 |
So what about this rare bird Koniflex? For my part, I have never really been into TLR cameras of any vintage or mark because they can be pretty awkward to use as an everyday camera. However, as a lifelong Konica fan, I have always been intrigued by its products that never really made it out of Japan. Let’s take a look.
Specifications for the Koniflex II
| Year of Introduction | 1955 (1952 Originally) |
| Film | 120 or 620 |
| Taking Lens | 85mm f/3.5 Hexanon (5 elements, 3 groups) |
| Viewing Lens | 85mm f/3 View Hexar |
| Minimum Focus | 1.00m |
| Shutter | Seikosha Rapid #0 Leaf Shutter |
| Shutter Speeds | B, 1 sec – 1/400 |
| Filter Diameter | 39.5mm |
| Weight | 960g |
| Flash Sync | PC; All Speeds |
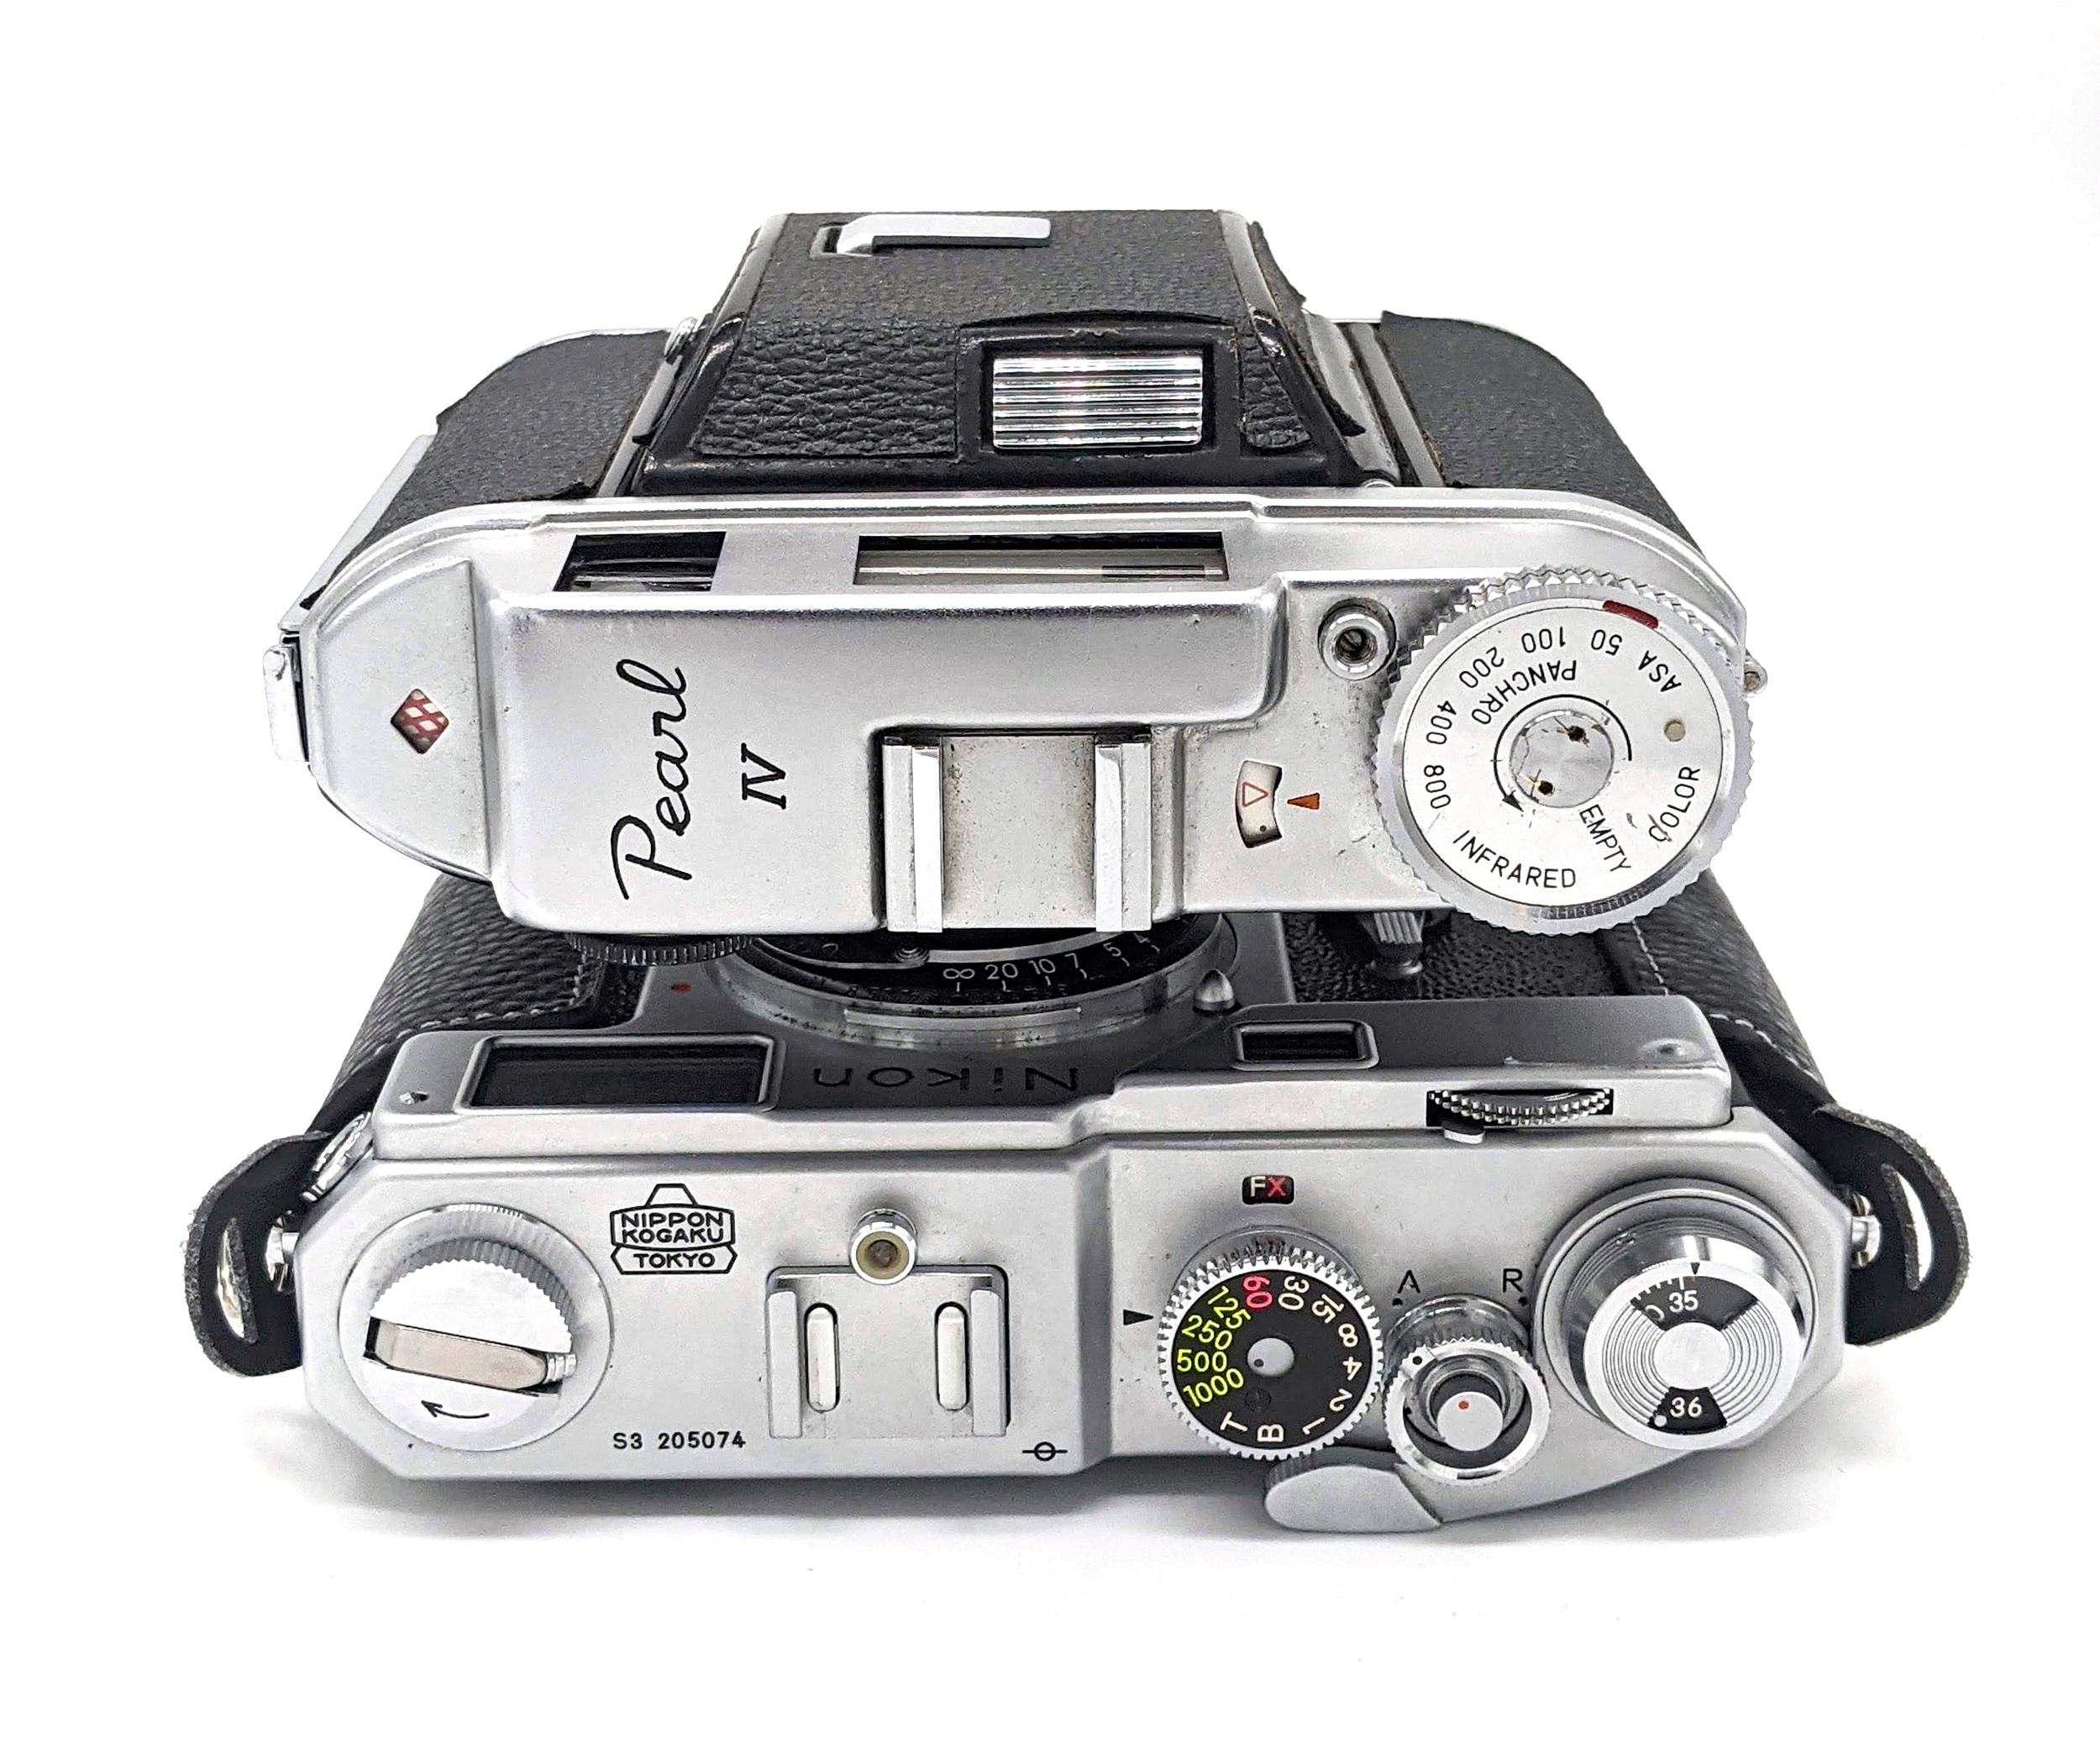
| Advance | Knob; Semi-Automatic |
| Shutter Tripping | Button or Cocking Lever |
| Self-Timer | Yes |
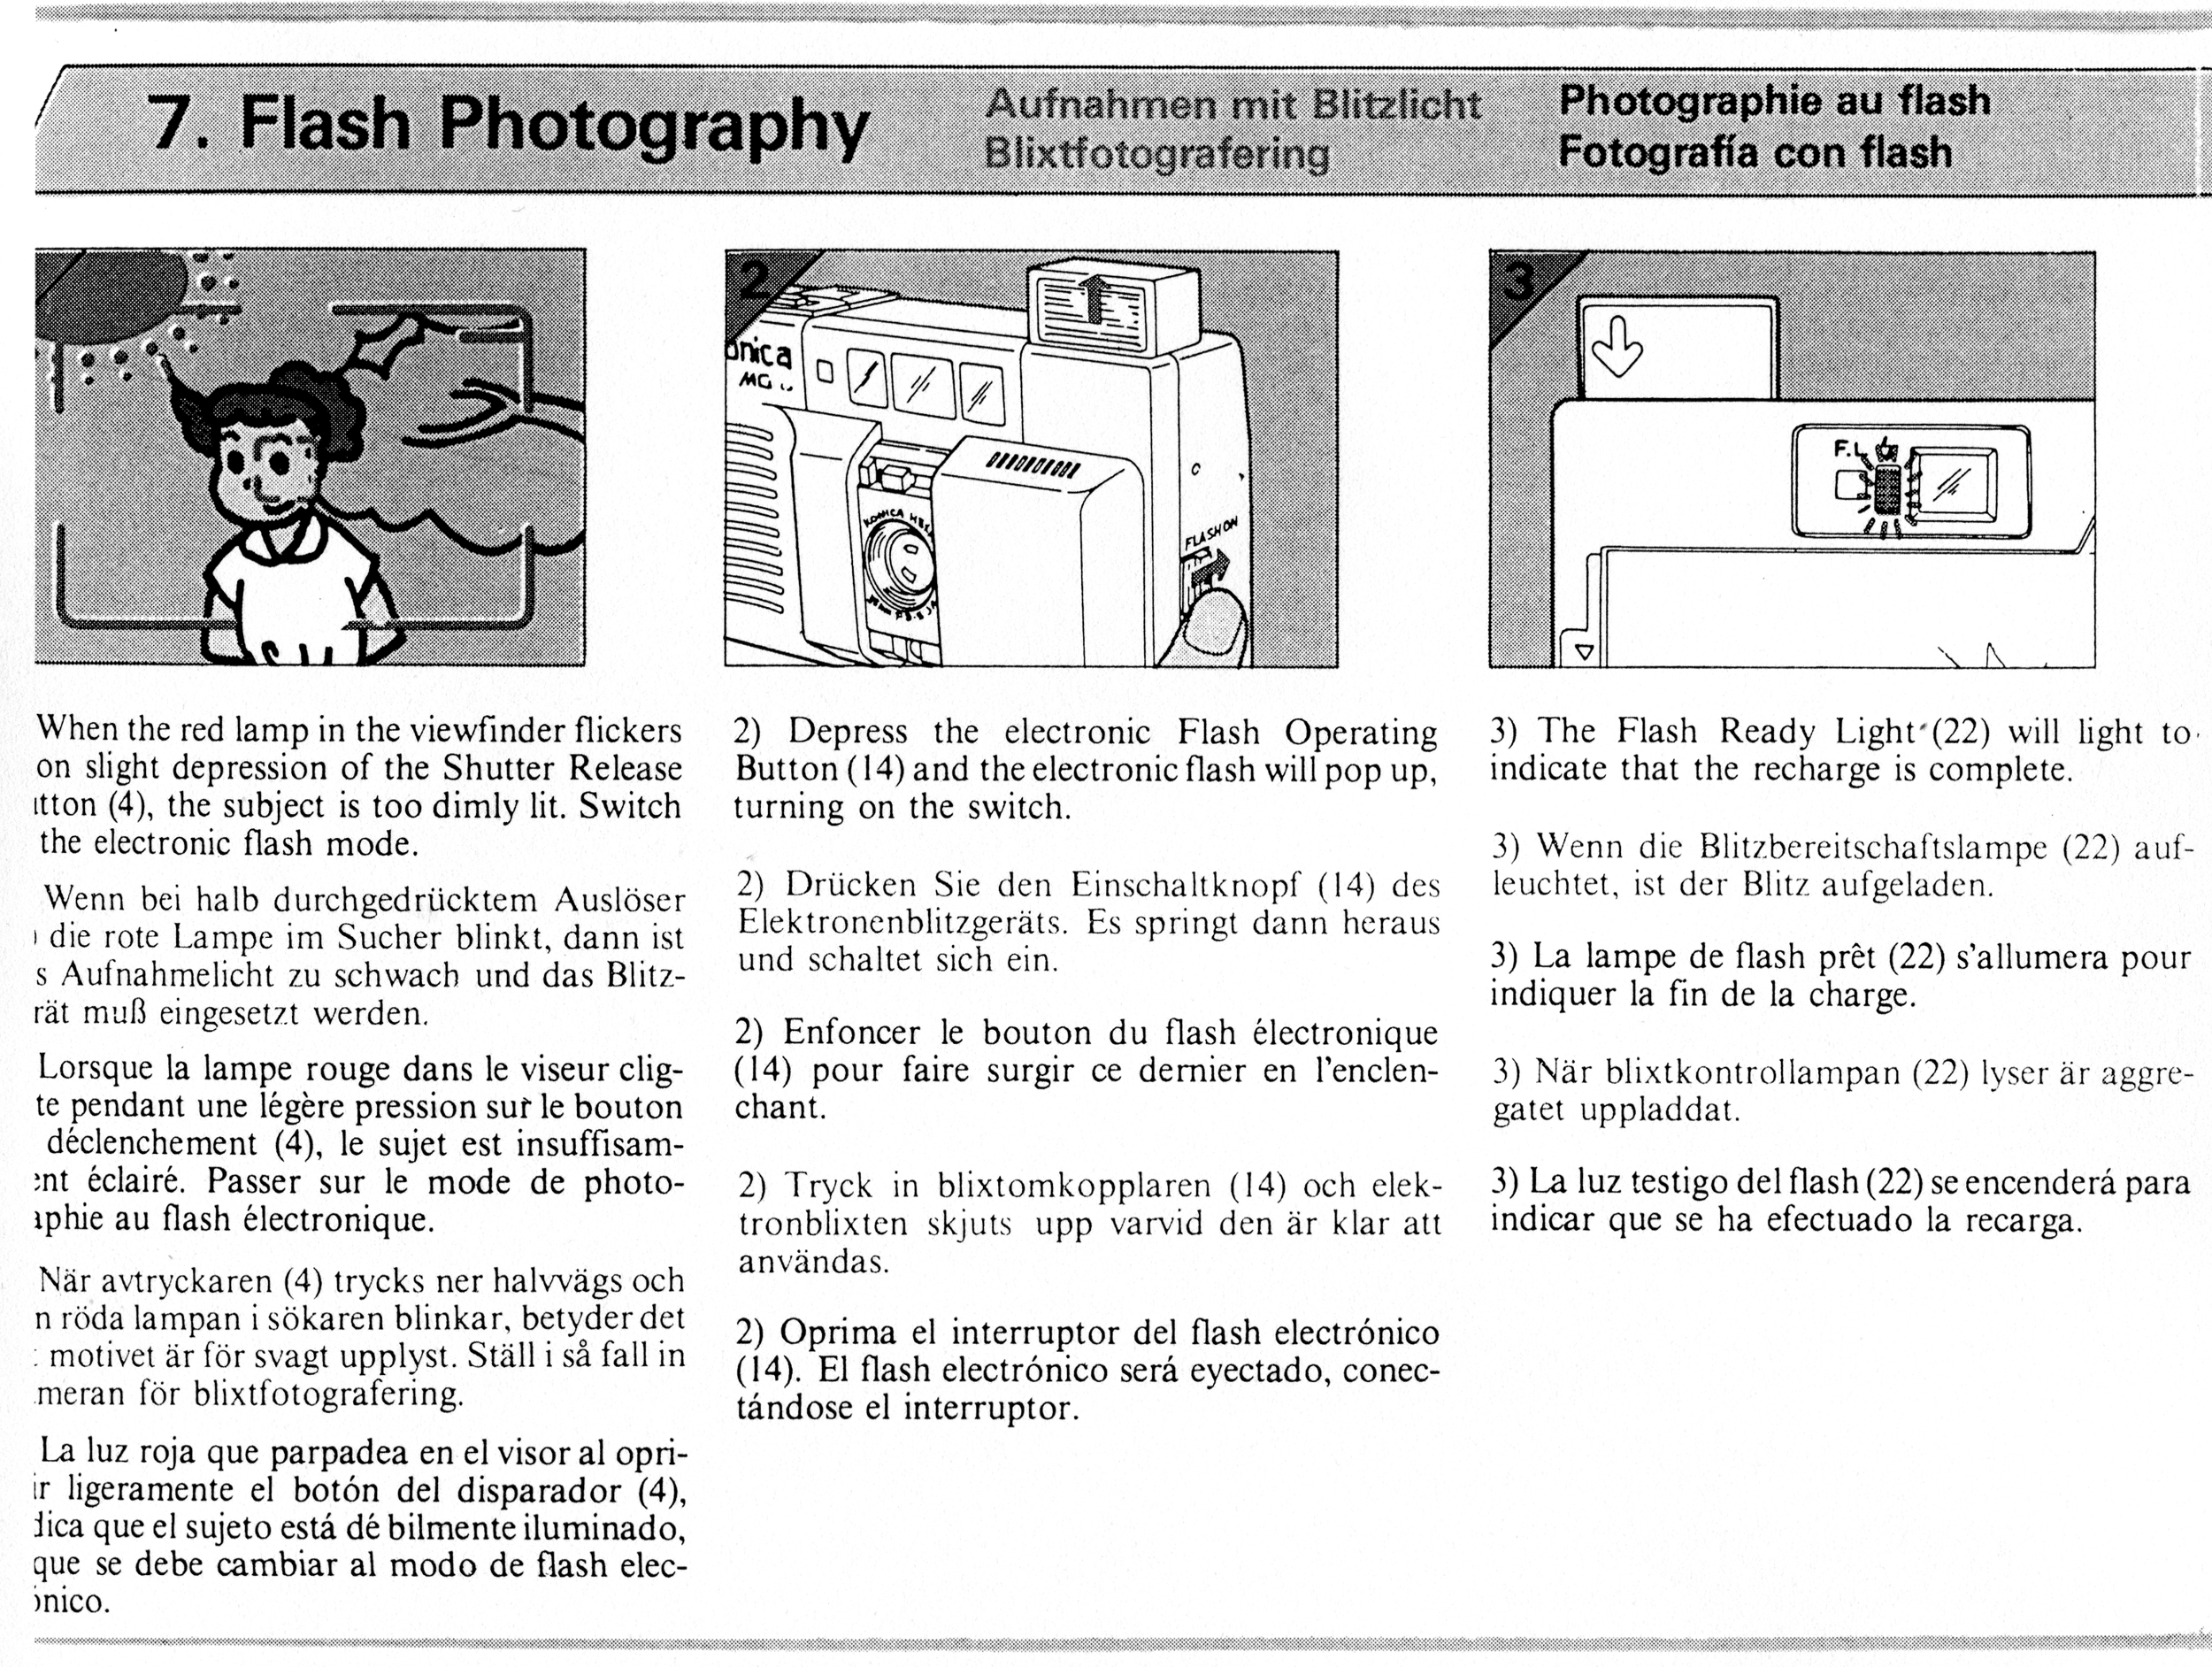
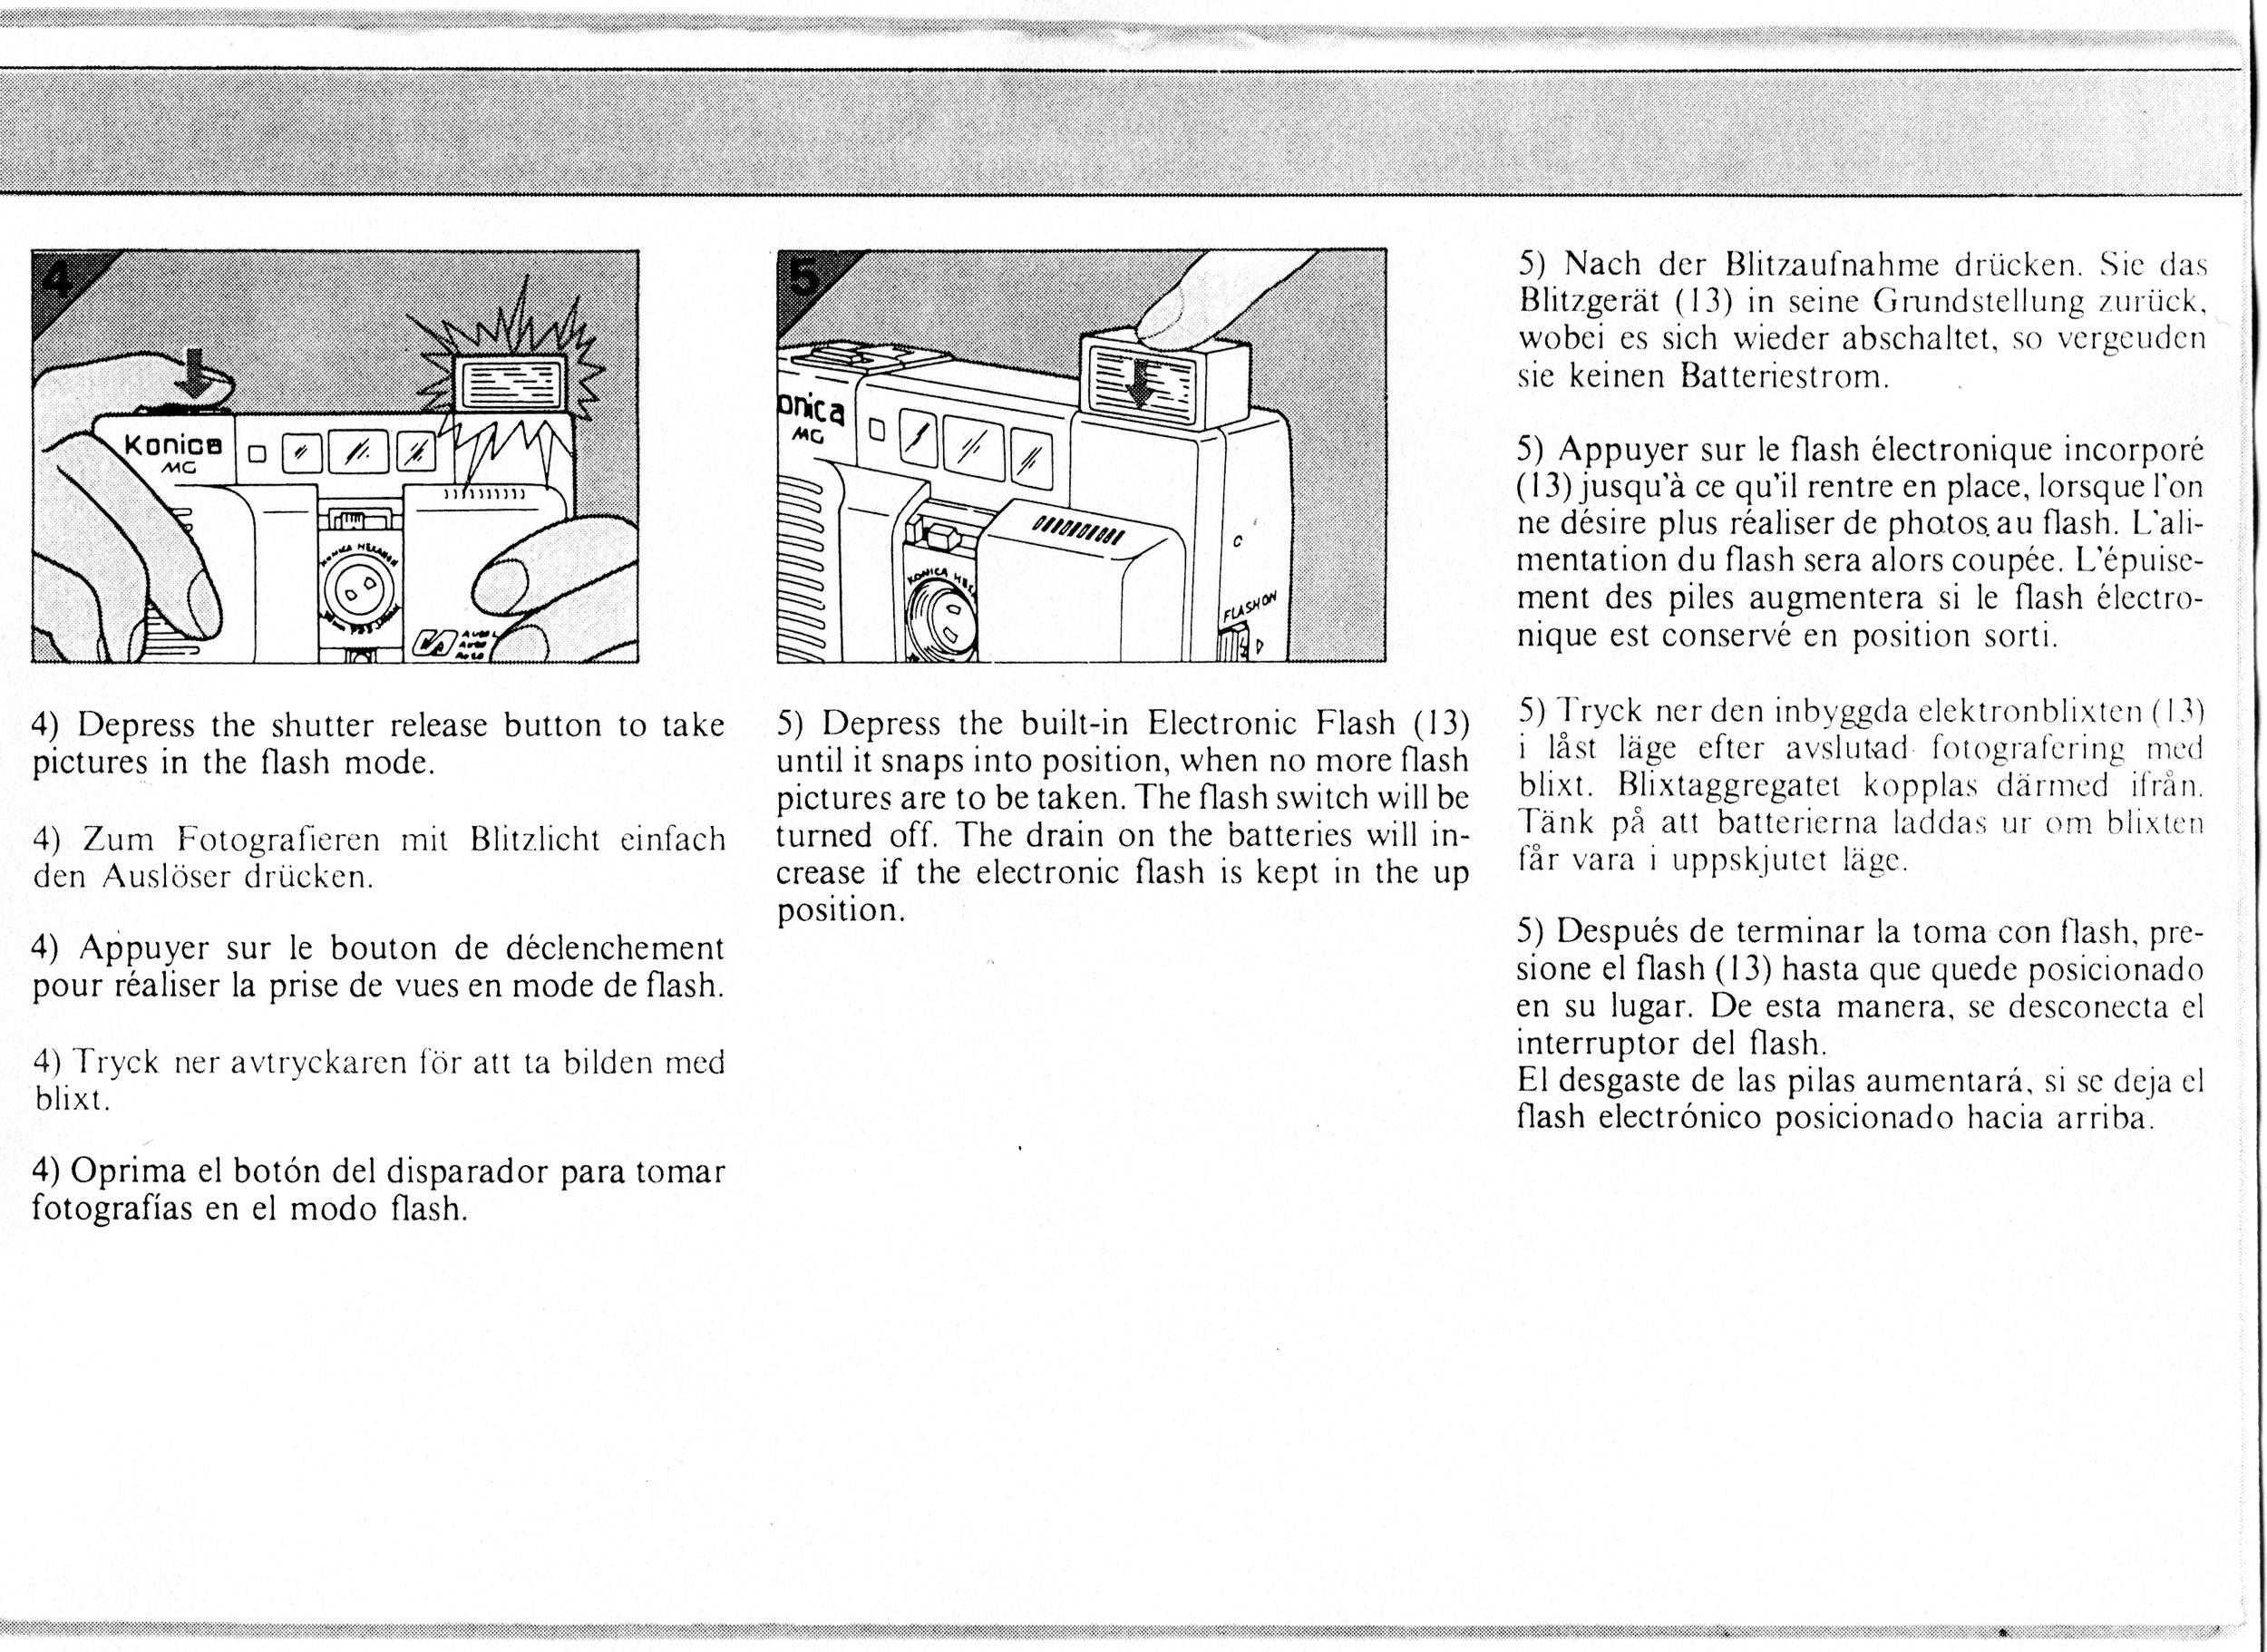
Operation
The 85mm Experience: Perhaps the reason why folks would be drawn to the Koniflex is the use of its slight more “normal” 85mm lens, the basic equivalent of using a 50mm lens in the 35mm format. While nearly all wartime and prewar Rolleiflexes and 1950s Japanese TLRs used Tessar-type lenses, many consider the Heliar design to be more advanced and to produce more pleasing out-of-focus areas. The minimum focusing distance of 1.00m is par for the course in this class. The amber lens coating of the taking lens is typical of most Konica products of the era. The viewing lens has a blueish lens coating.
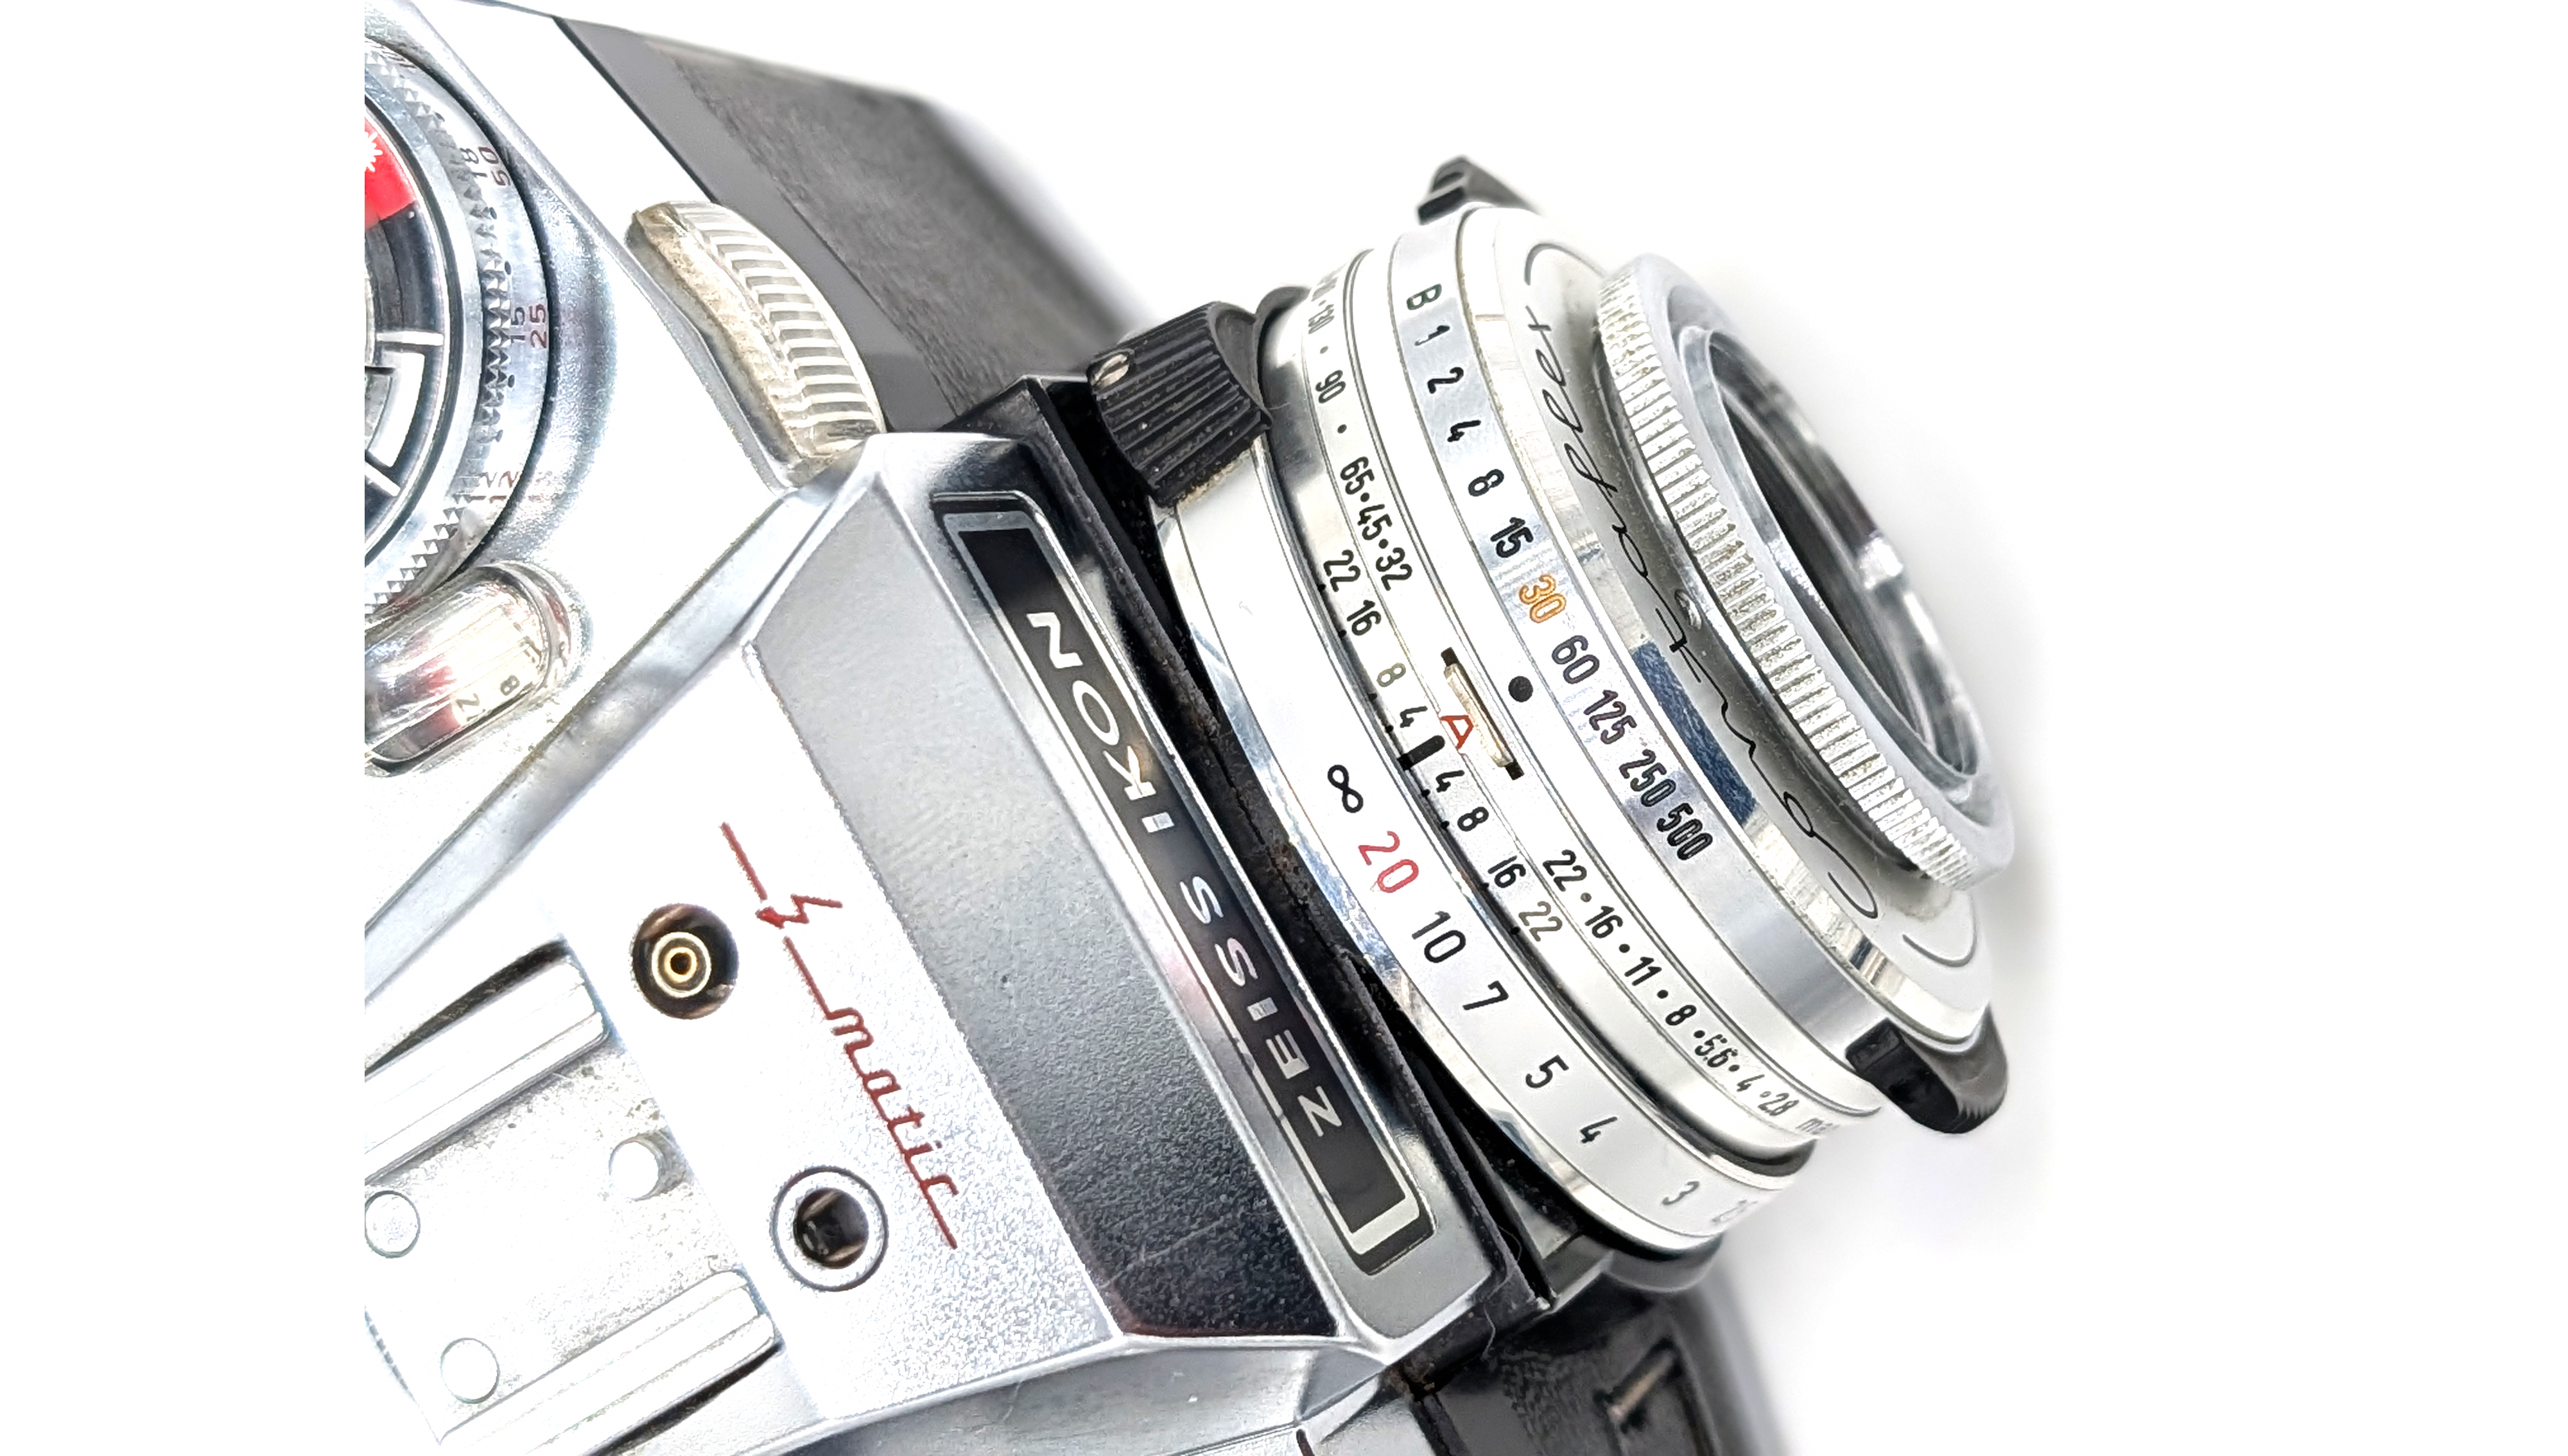
Old-Style Shutter Speeds: Throughout much of the 1950s, Konica used in several products different models of Seikosha shutters that used the “old style” of speeds, so B, 1, 1/2, 1/10, 1/25, 1/50, 1/100, 1/200, and 1/400. In real life, this does not really make a difference. Seikosha shutters have proven to be fairly reliable over the years but still require service from time to time.
Odd 39.5mm Filter Size: The 39.5mm filter size is long obsolete, and no modern filters are made in that size. During the era, Konica produced a number of filters (labelled “Konifilters”). However, I would not advise using any of them. My advice is to find a 39.5mm to 40.5mm step up ring and employ quality modern filters.
Shutter Speed / Aperture Use: If one is coming from a later Rolleiflex or many other TLRs, the operation of the Koniflex shutter speed and aperture controls will seem quite different. Instead of using two little dials between the taking and focusing lenses to adjust these settings, the shutter speeds are adjusted by turning the ring attached to the taking lens itself and the aperture with a little lever. While you can see the aperture setting from above, you cannot see the shutter speed.
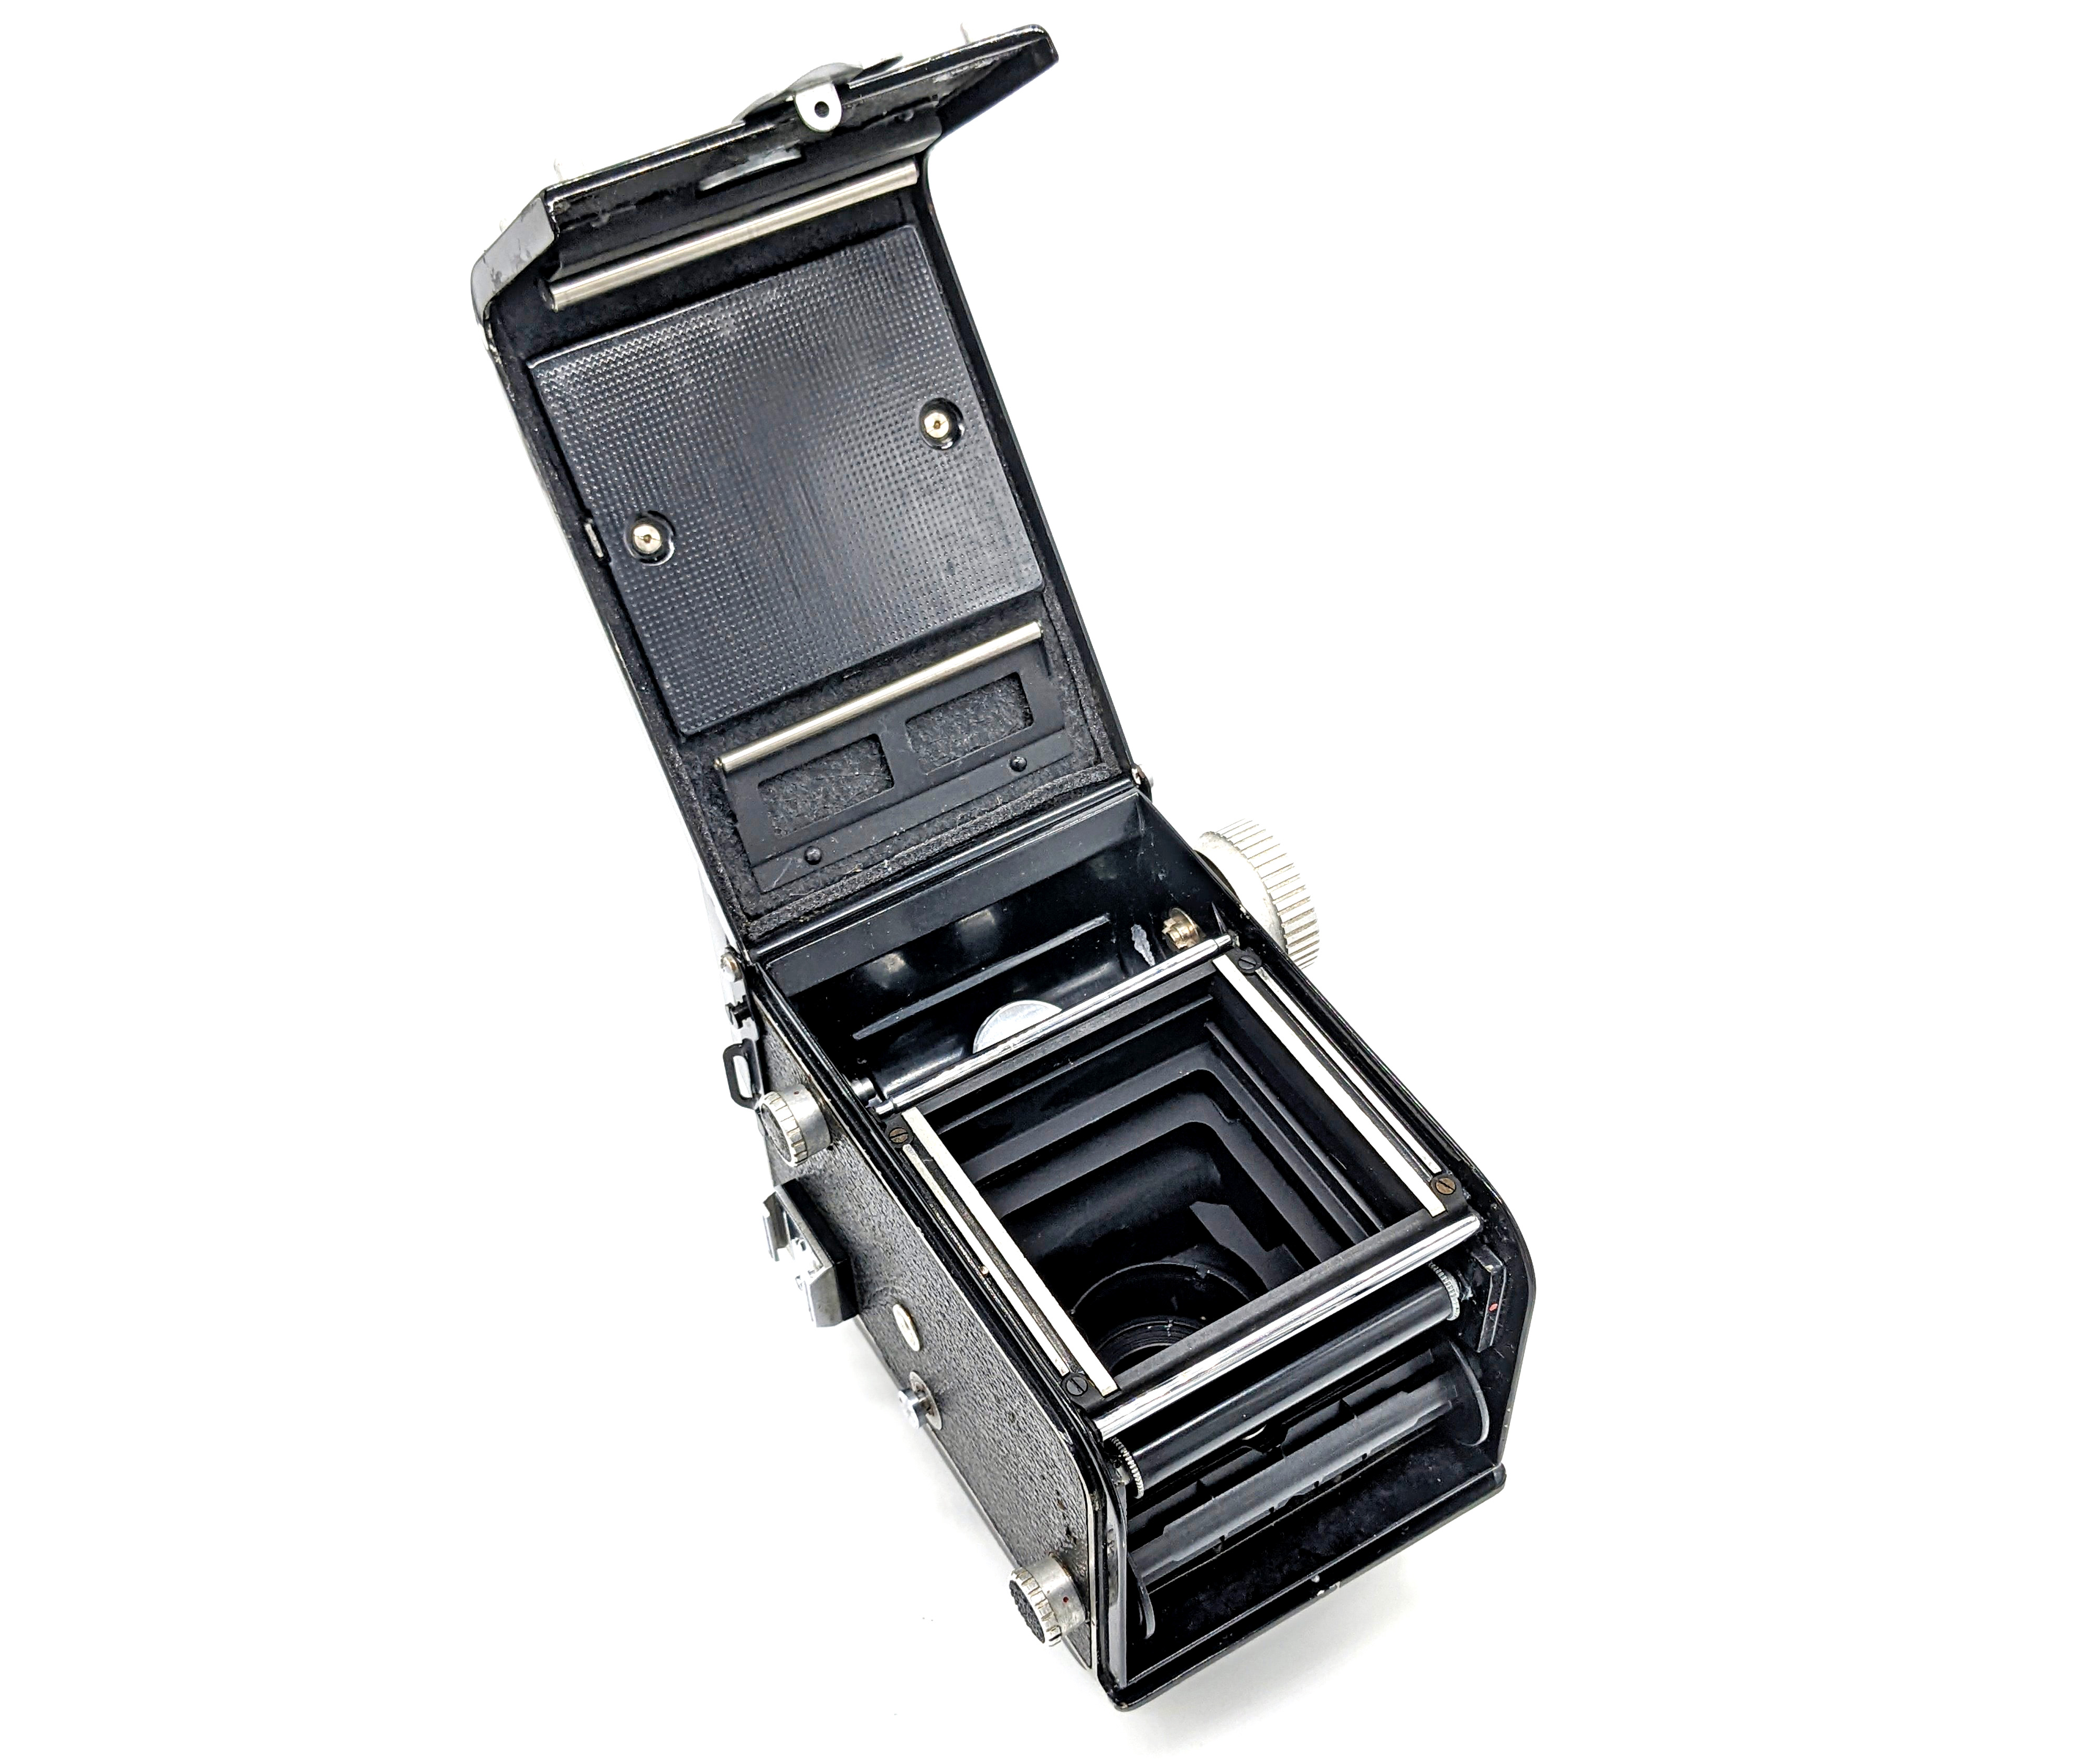
Manual Shutter Operation: Perhaps the largest downside to the Koniflex is its method of shutter cocking and film advance. Unlike Rolleis and many other TLRs, the shutter is charged by switching a lever underneath the taking lens. Unfortunately, advancing the film does not cock the shutter for the next shot. Konica’s 645 Pearl cameras also lacked the capability for the film advance to cock the shutter. Tripping the shutter is achieved by either pressing the shutter button, or pressing the shutter cocking lever to the opposite side.
Cable Release: The Koniflex uses an older style cable release. One can use either something like the Nikon AR-2 cable or an adapter that allows the use of modern cables.
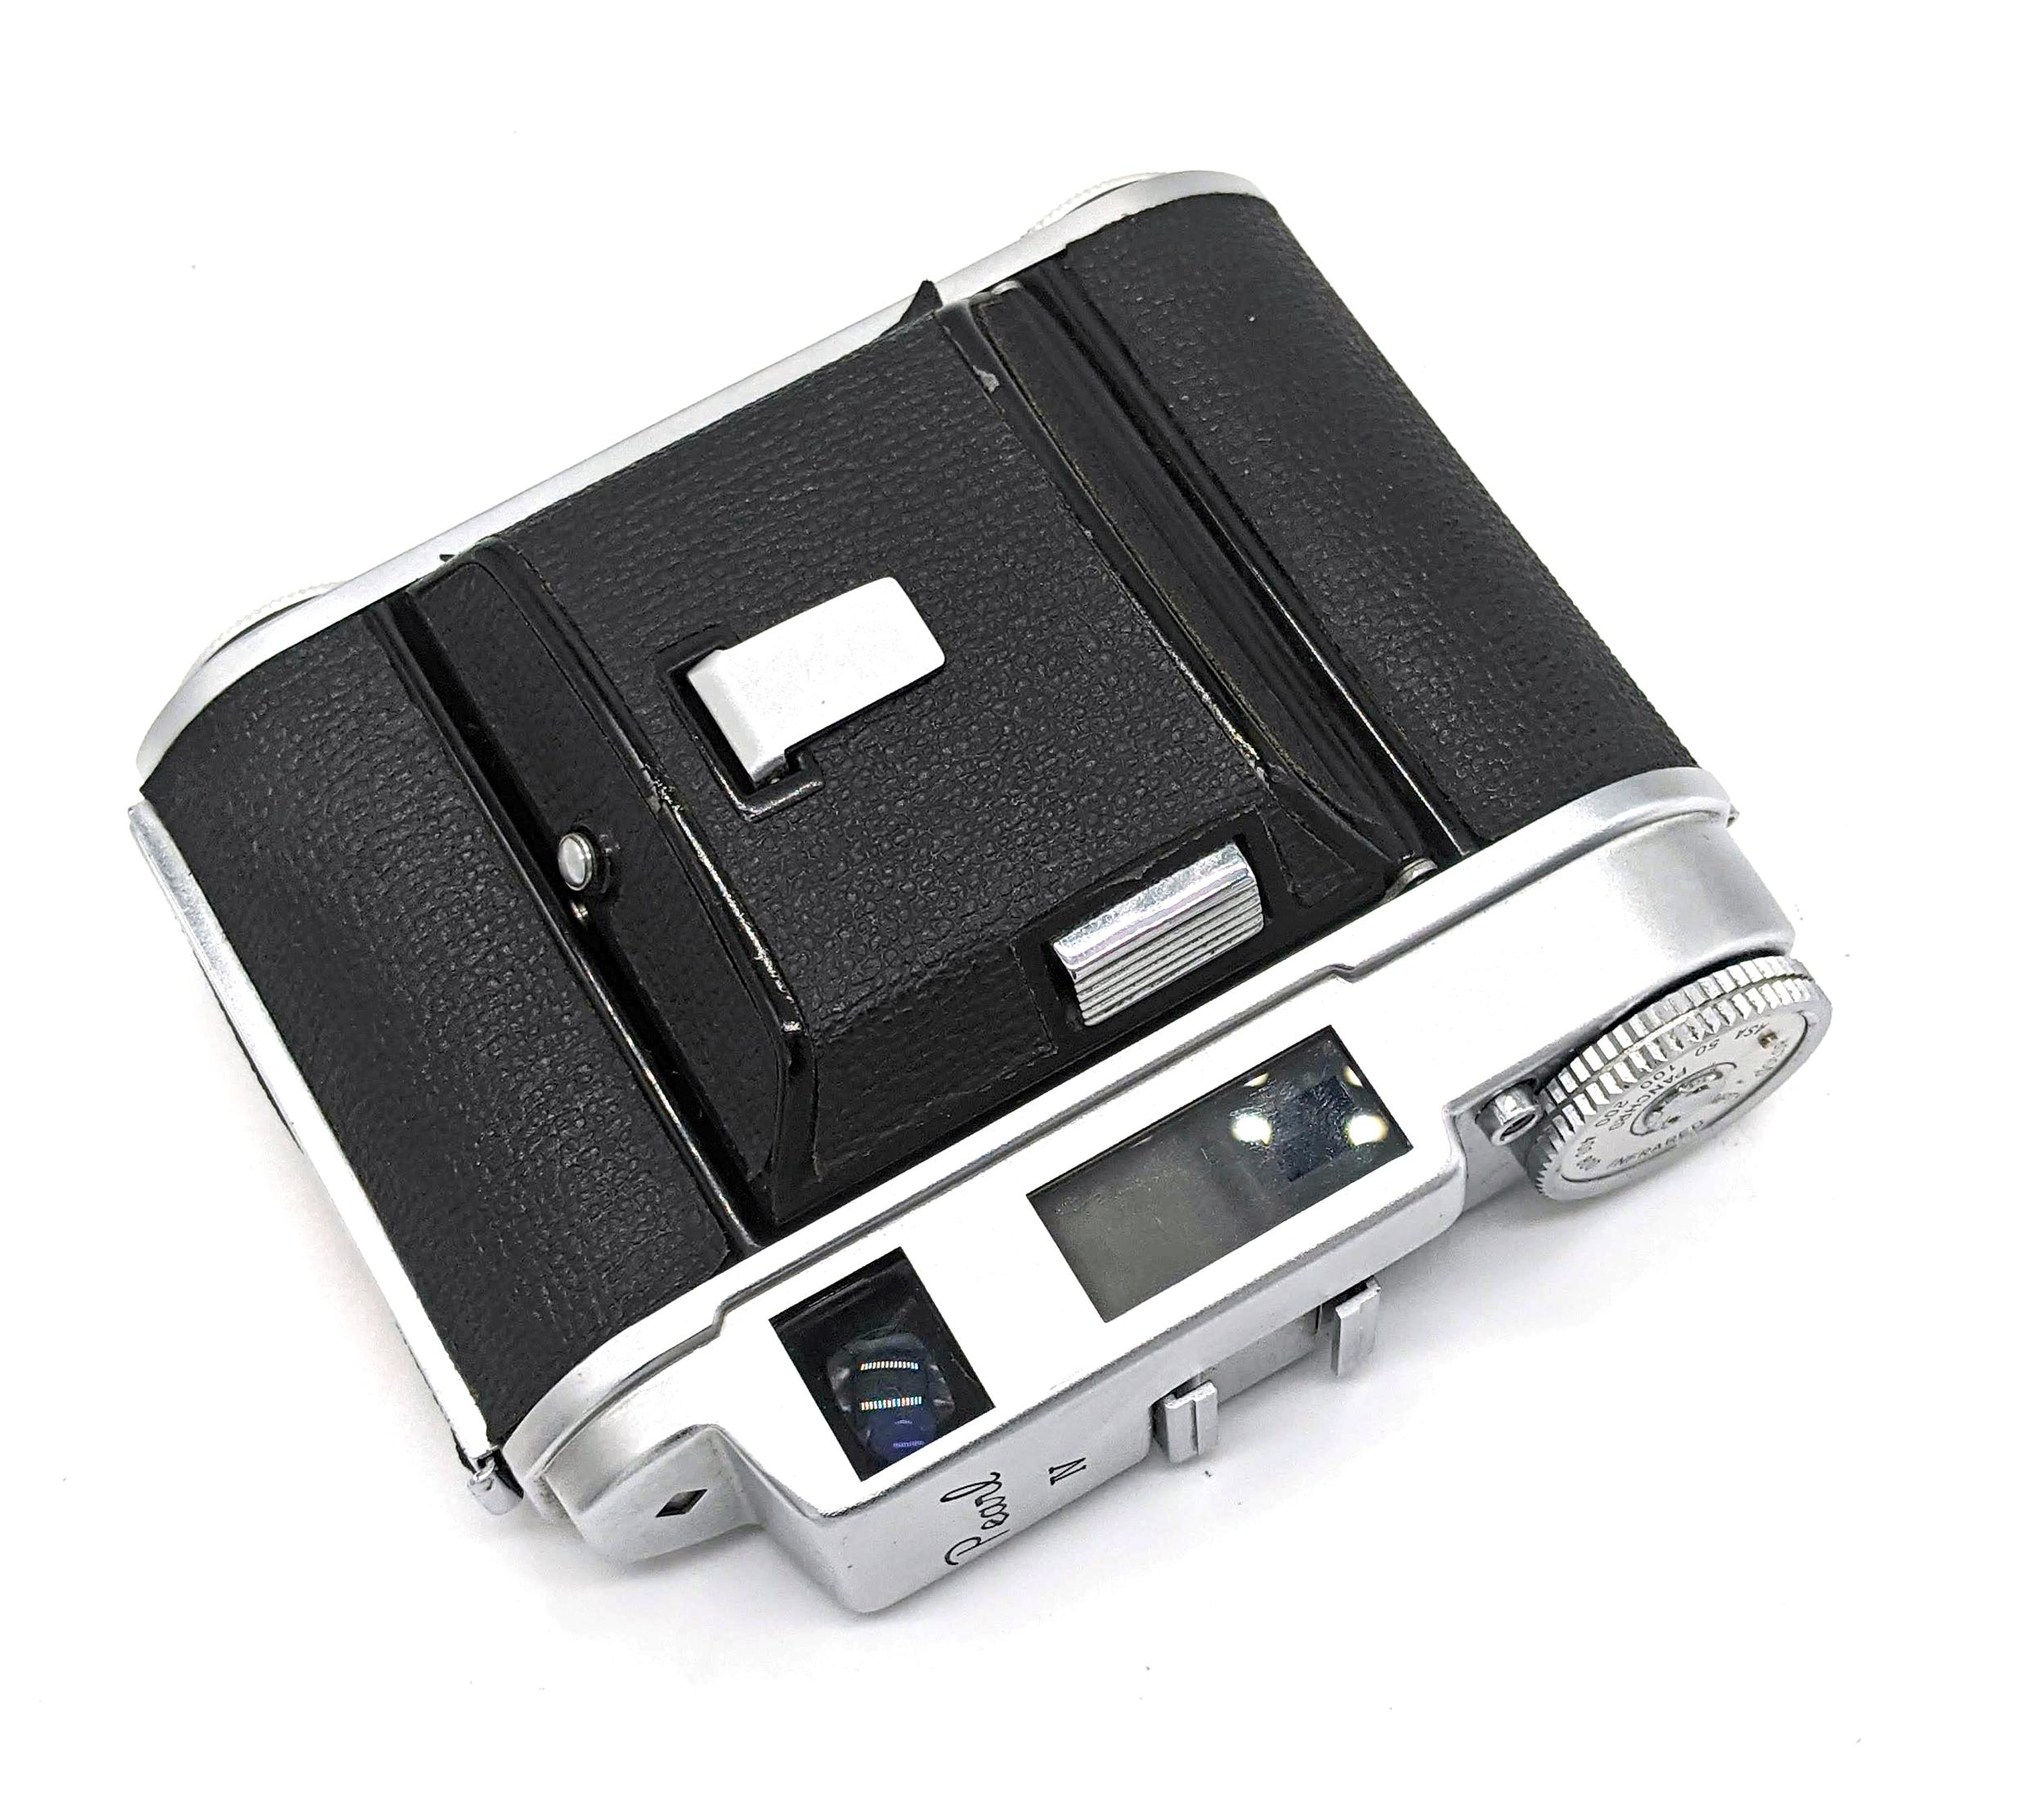
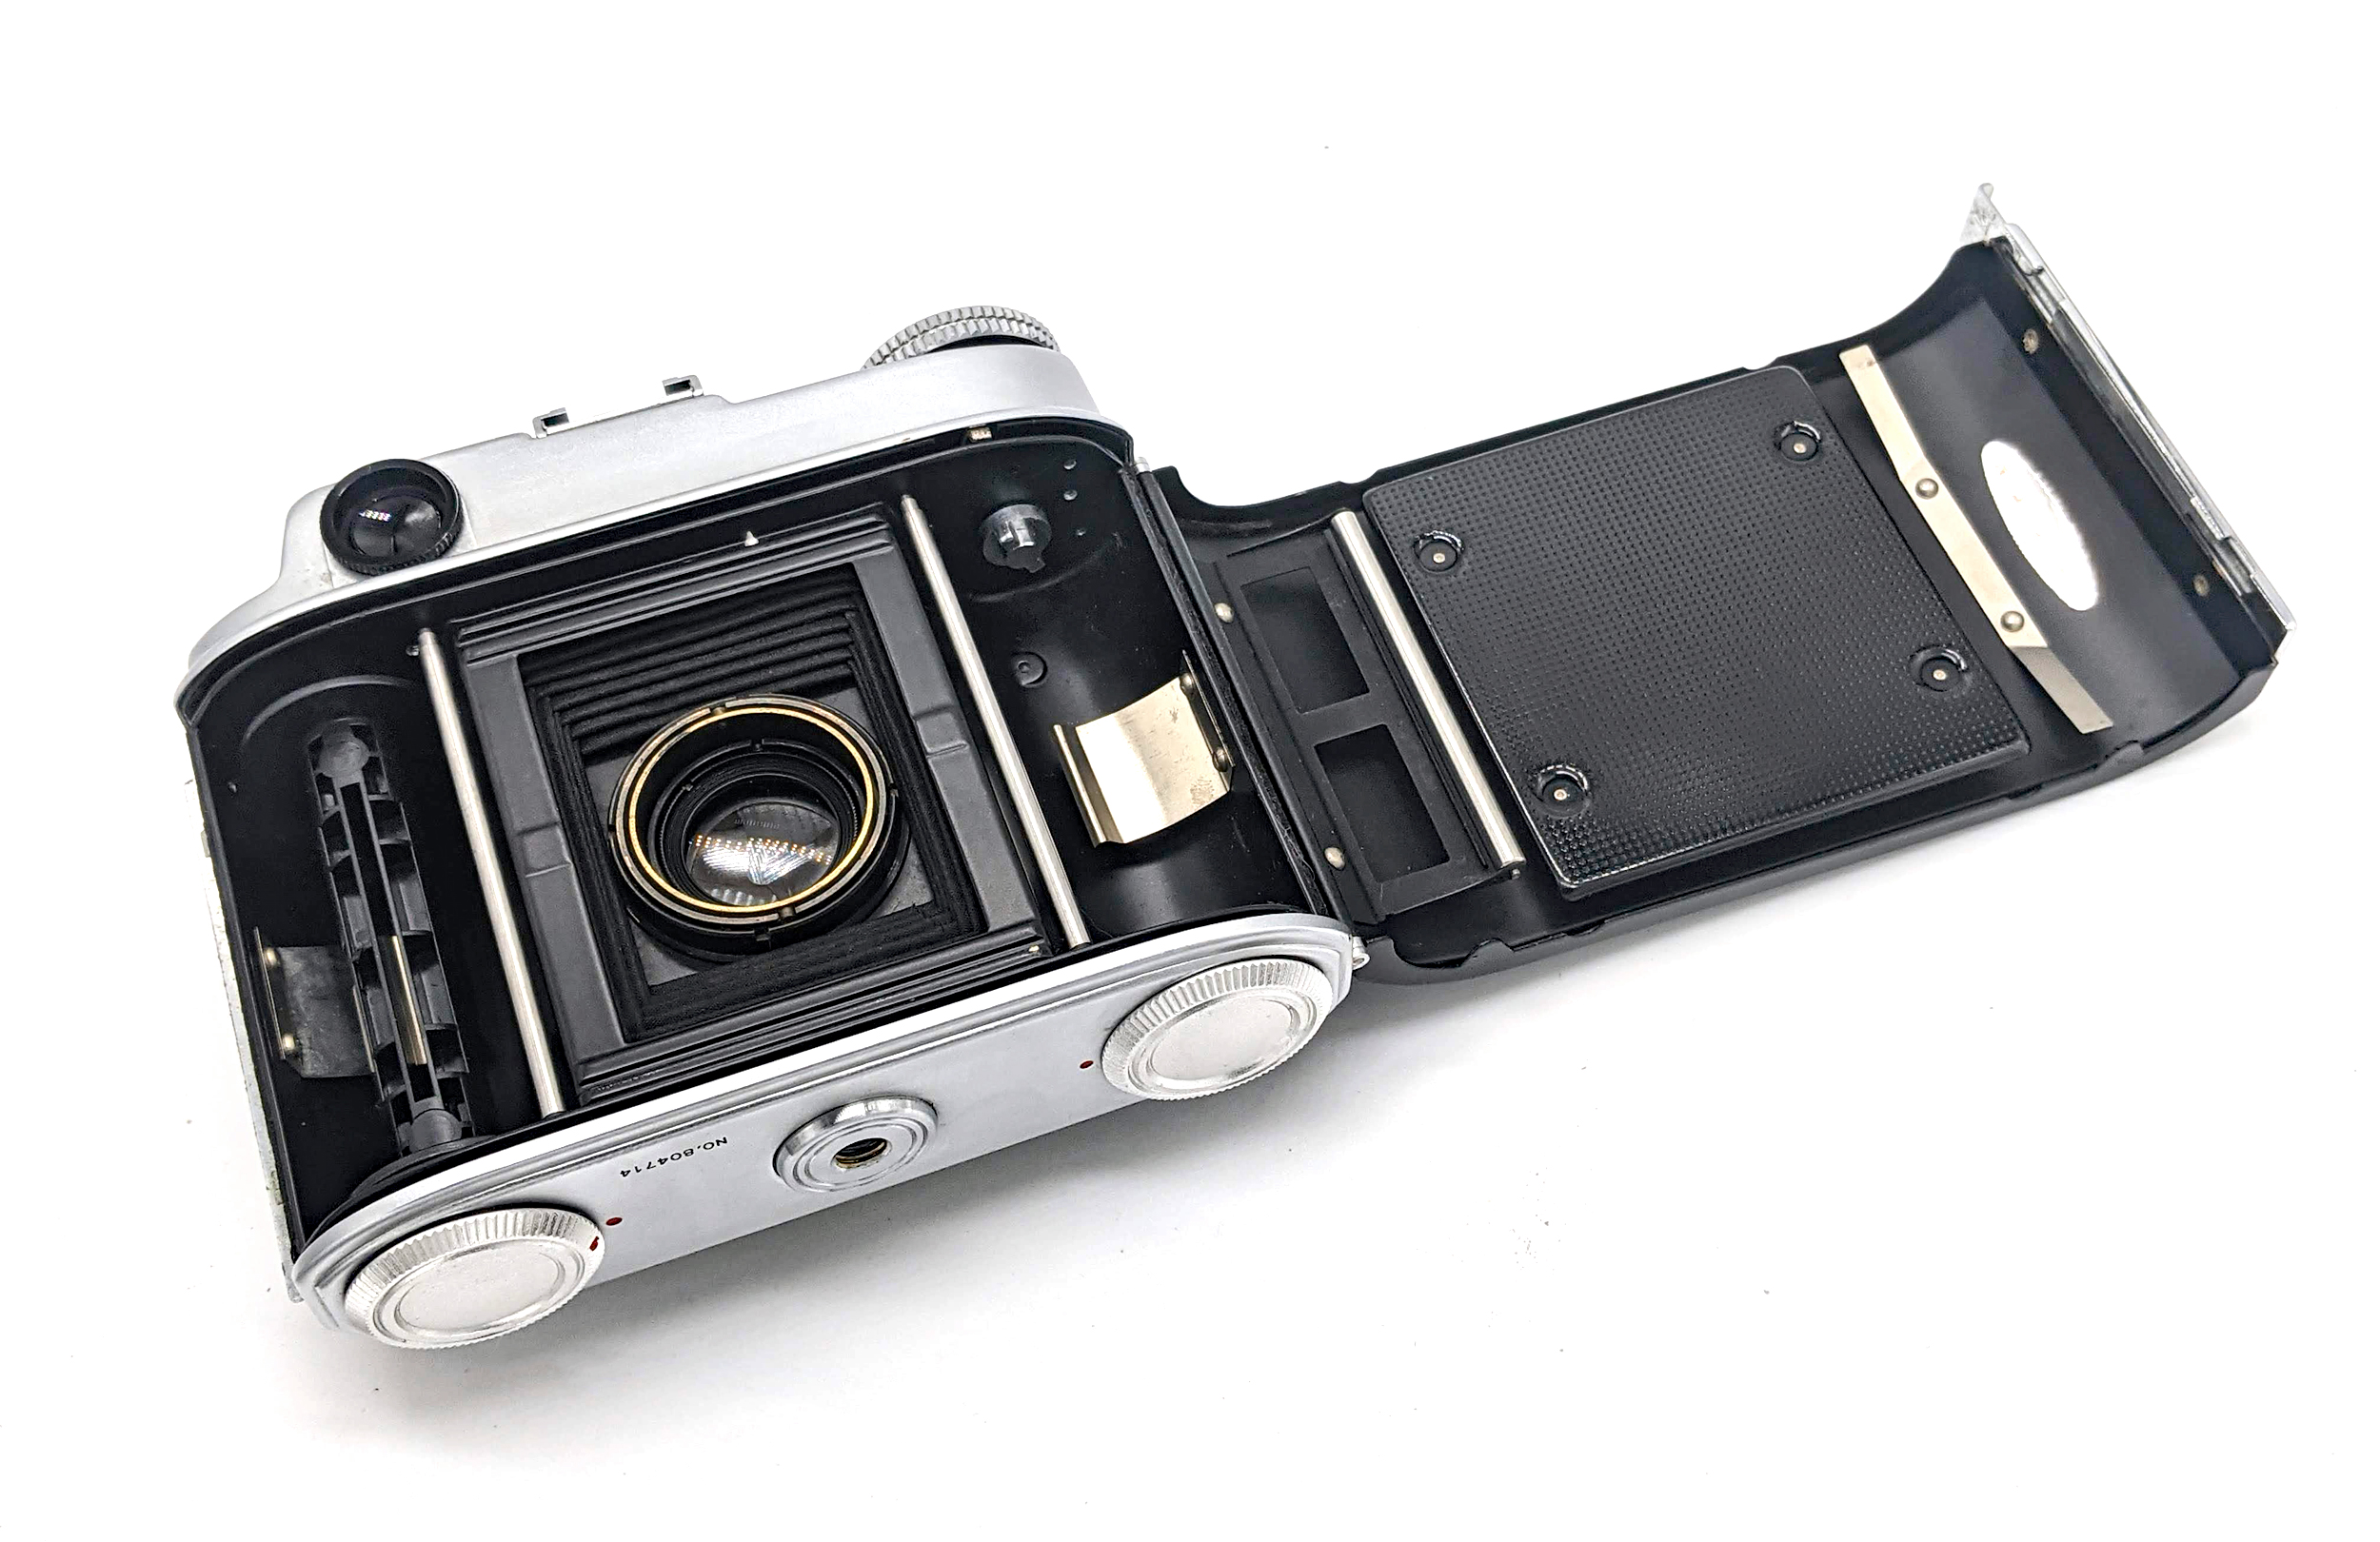
Focusing: Focusing is straightforward using the knob. The Koniflex has an excellent stock focusing screen with a simply “+,” which works fairly well to both determine the absolute center of the frame as well as ensuring that the scene is level. Seemingly unique in the history of TLR design by 1952, the Koniflex uses a curved condenser lens in combination with the glass fresnel lens. This provides excellent and even illumination across the focusing screen. Focusing is achieved by looking down into the camera and/or by using the pop-up magnifier for more critical applications. Remember that the image will be laterally reversed when focusing. There is also a “sports-finder,” which is just a small cut-out in the hood. Konica did not manufacture any other types of hoods or prisms. The focusing mechanism permits the lens assembly to be pulled further back into the body which will also “lock” the shutter. This is useful for stowing the unit after a photo is taken so that shutter does not accidentally get tripped. 120 film was not cheap in the 1950s.
Film Flatness: Konica’s higher-end cameras often made film flatness a priority, which can have a significant impact on the sharpness of any photo. Not only does the Koniflex have a well-engineered pressure plate, the mechanism has rollers to aid in keeping the film flat.
Accessory Shoe: The Koniflex has a nice cold shoe on its side for your flash or external light meter.
Flash Sync: While the Koniflex I had an older Kodak-style flash socket, the II switched to a standard PC socket. Flashes sync at all speeds because of the Seikosha leaf shutter.
120 & 620 Film: Although this was probably a big deal at the time and not such a big deal anymore, the Koniflex’s ability to use both 620 and 120 film was pretty neat. 620 was a format that was used by some super-old Rolleiflexes and many Kodak cameras from the 1930s to the 1960s.
Strap Lugs: Although you could use the Koniflex case itself as a strap, the camera includes two standard lugs for any strap you wish to use.
Accessories
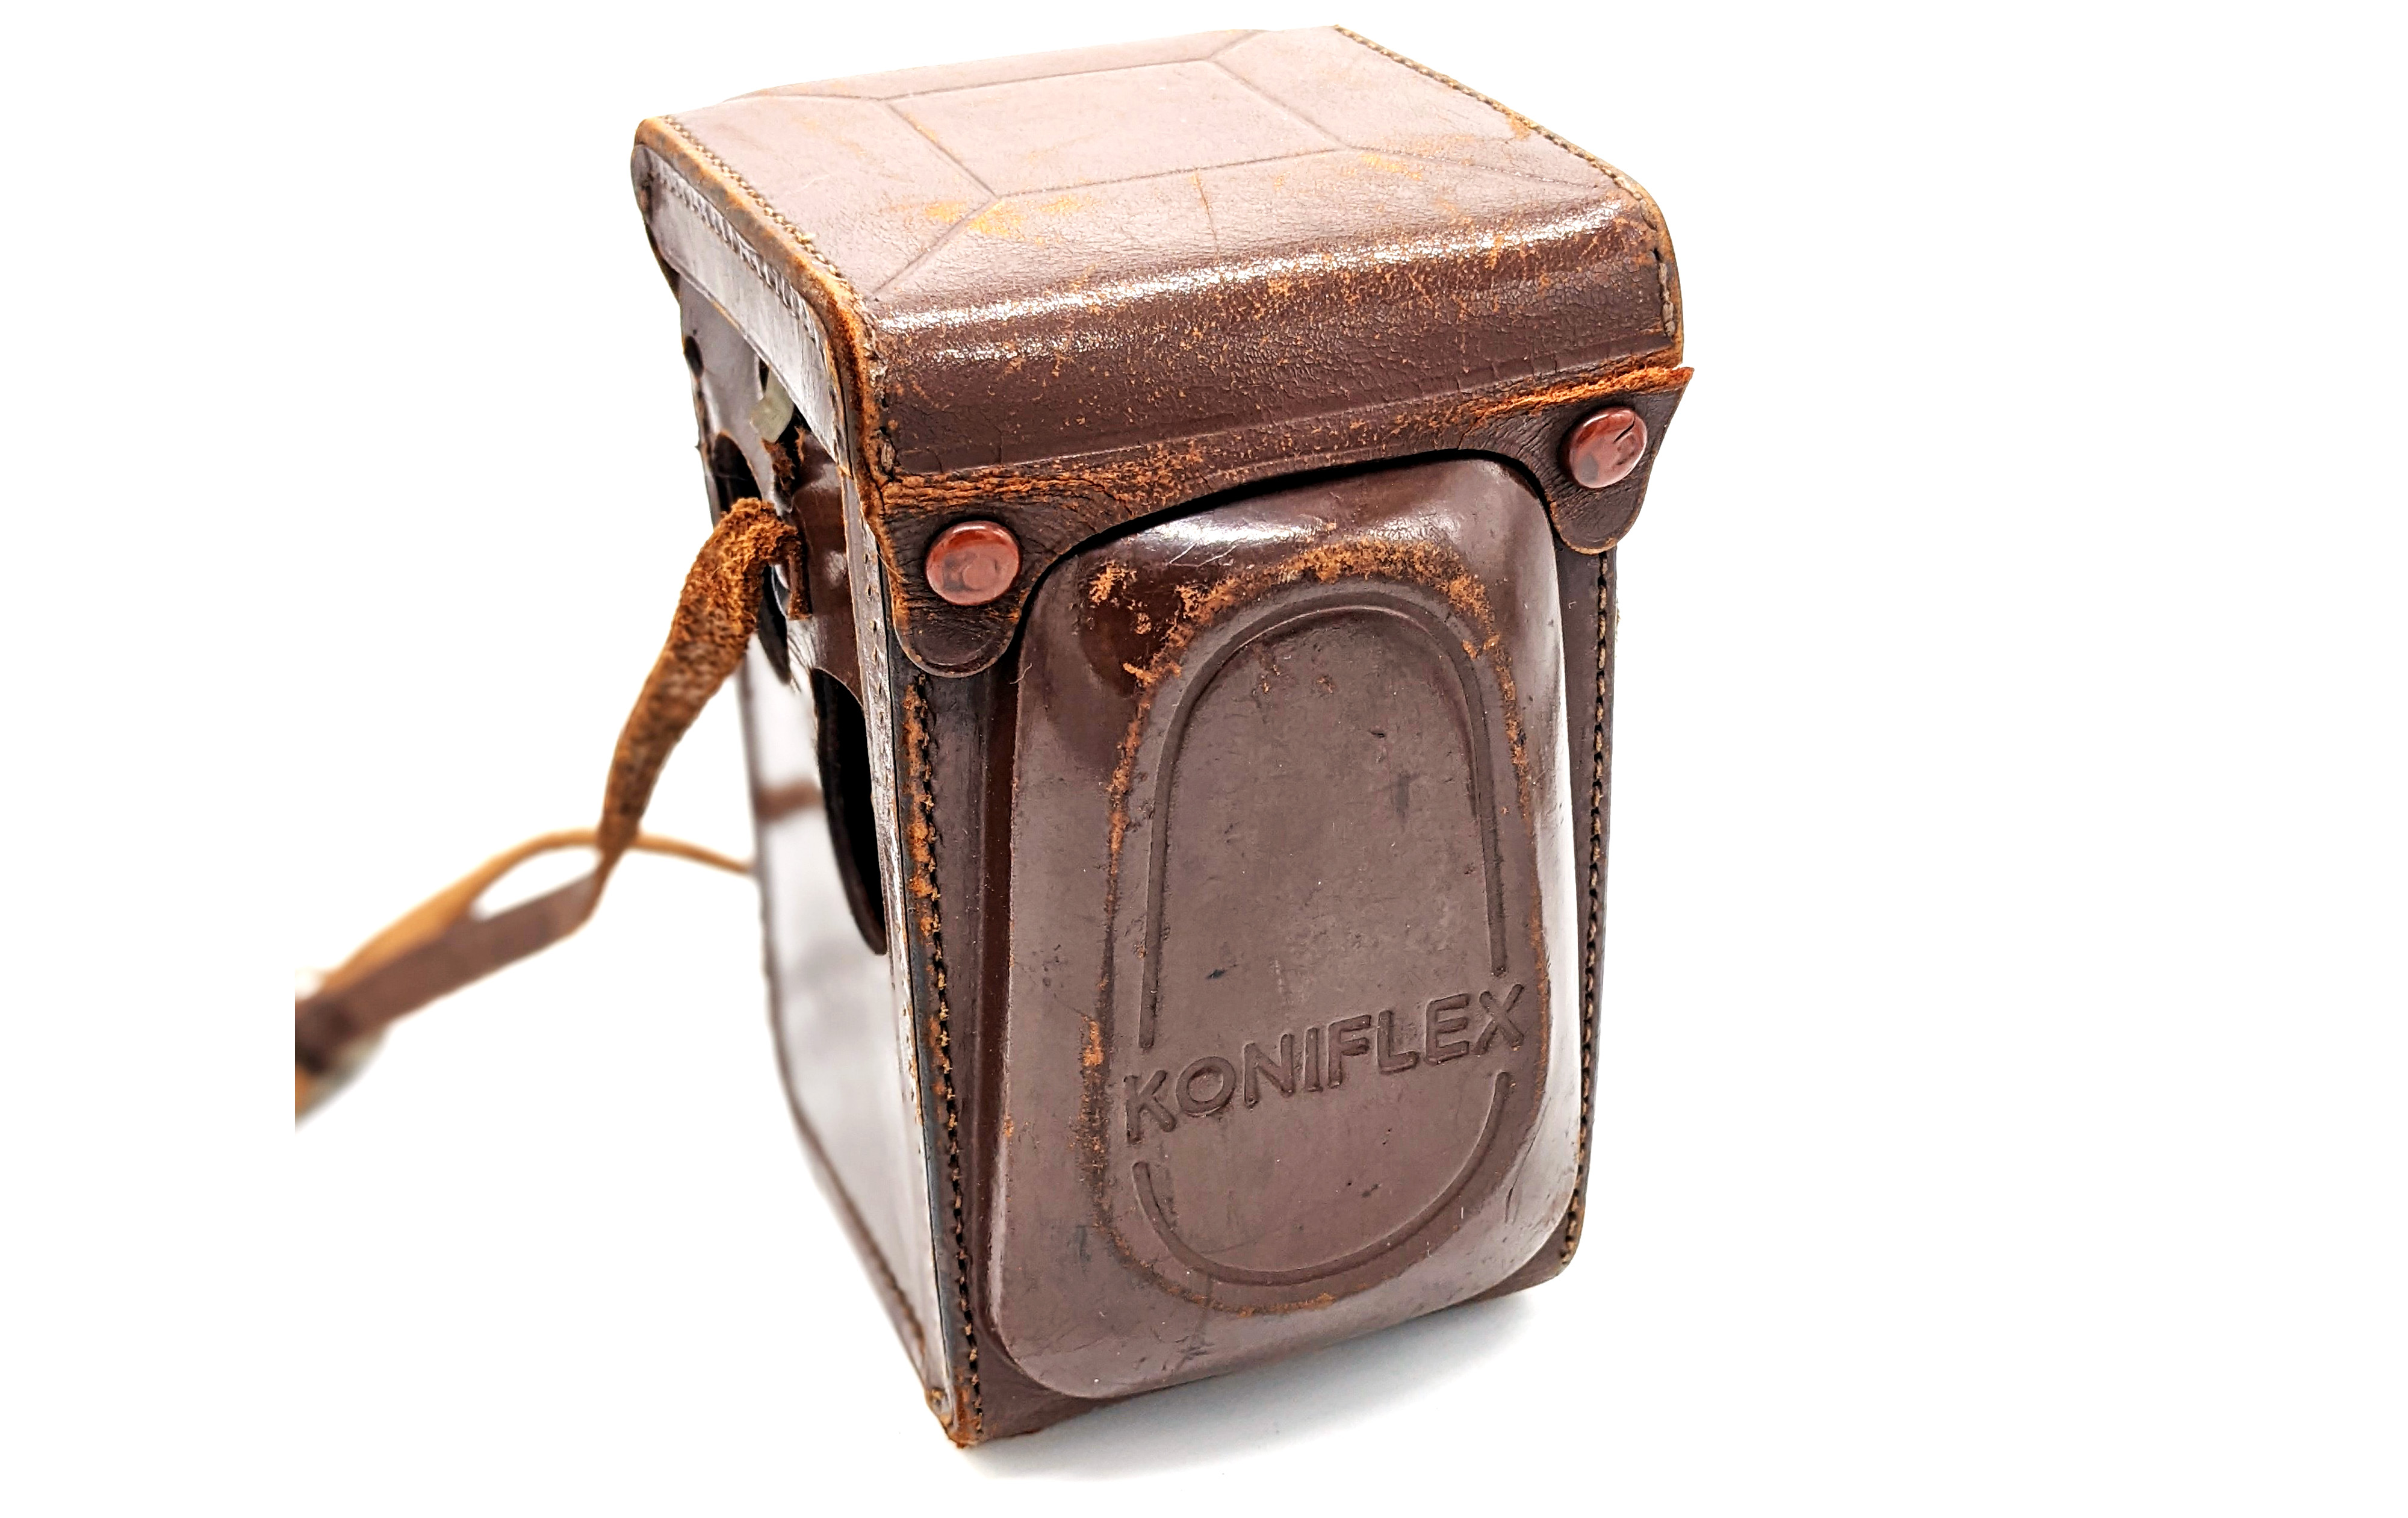
Case: The Koniflex came with a standard leather case that also doubled as a strap. A good way to protect the camera.
Konifilters: As stated above, Konica produced some very specific filters for the Koniflex that are not very useful today with the extreme advances in filter technology. Konica had a variety of different “Konifilters” for different cameras so it is sometimes hard to track down the right ones even if you can find them. Go with a 39.5mm step up ring to use more common filters.
Lens Hood: Konica produced a “Konihood” for the taking lens. Like the “Konifilters,” Konica made a variety of “Konihoods” for a number of different cameras in different sizes. If your Koniflex does not come with the original hood, an aftermarket one will do.
Close Up Attachment: An extremely rare accessory is the “Koni-up” close-up lens set. This was Konica’s answer to the Rolleinars. Good luck finding one.
Conclusion
The Koniflex was an expensive camera for its time, and that may have been its downfall. In a crowded market topped indisputably by Rolleiflex and with at least a dozen other Japanese-made TLRs selling for 1/5 of its price, the Koniflex may have had a hard time finding a target audience. With its high-quality lens and its fantastic and innovative viewfinder, the Koniflex should be properly considered as one of the best non-Rollei 1950s TLRs. With the vast majority of examples in Japan and seeming to be the “Koniflex I” variety, I would recommend holding out for a Koniflex II (or even a Tele-Koniflex if it ever pops up). If you like TLRs, this is worth checking out for sure.